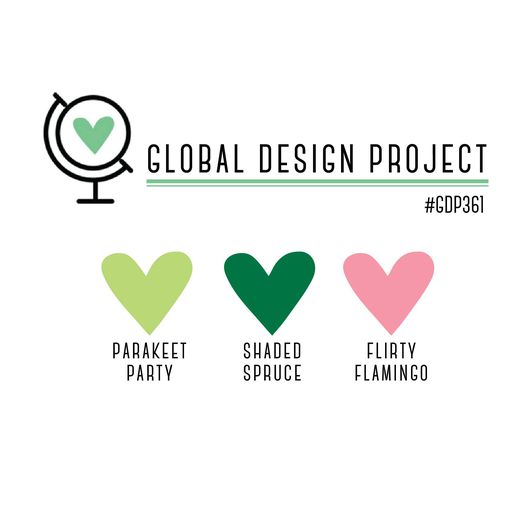
Hello there! Thank you for joining me today for a quick tutorial on how to make your own silver metallic splatter created for Global Design Project #361, where there’s a unique color challenge and one I would have never put together.
I know I need to create a quick video as to how create your own silver splatter, as Stampin’ Up! doesn’t have that option available right now, but there’s always a way with what we offer to make it work with daring experiments. My silver splatters were a last minute thing to spice this project up.
I’m back with my latest obsession of Splendid Day Suite Collection + the Very Best Occasions stamp set, mixing and matching all of our perfectly coordinating products.
As always, your shopping Supplies and Instructions, including measurements, are below.
I started out with an A2 Basic White Thick CS.
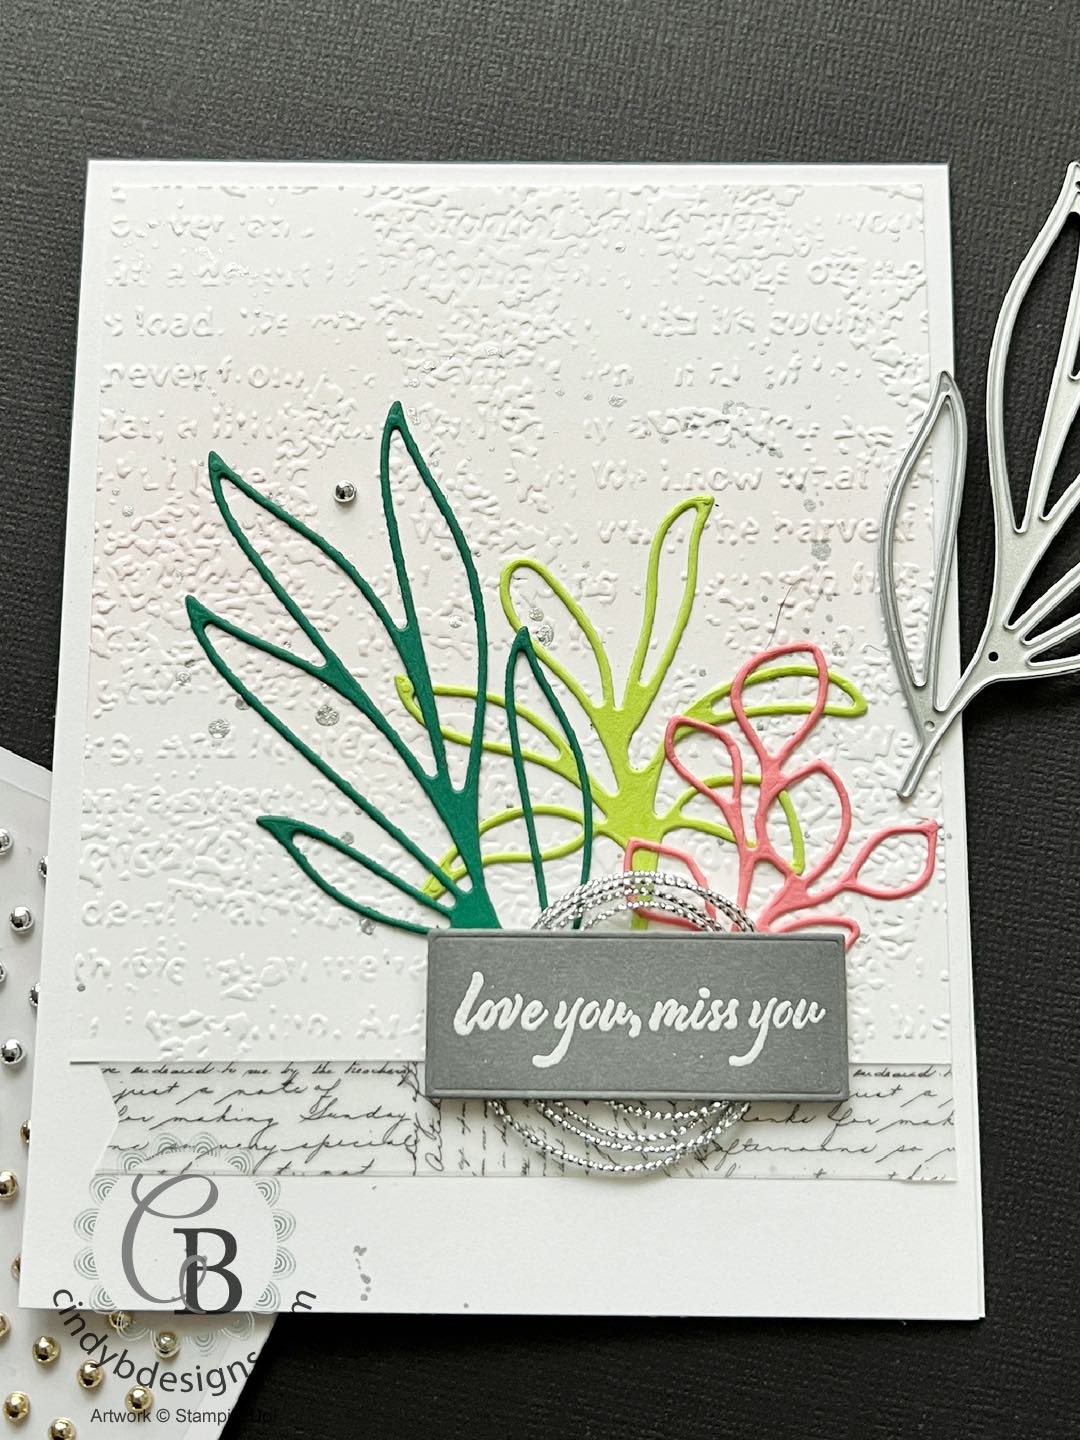
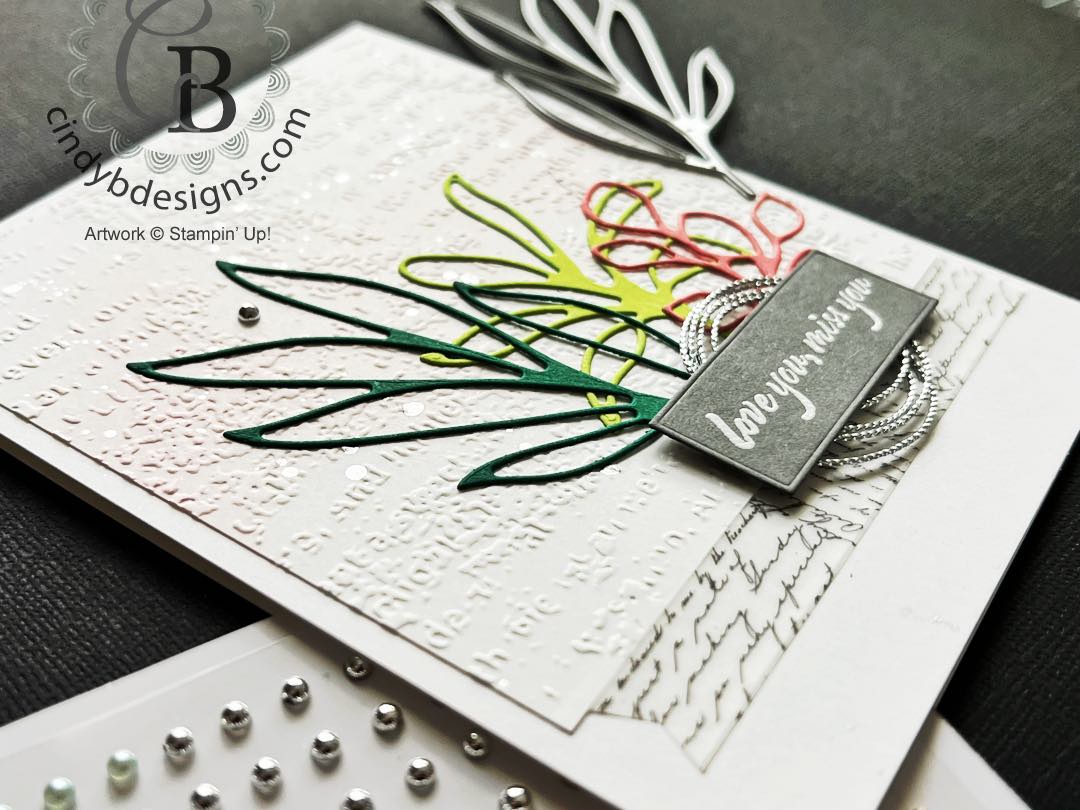
I cut my image panel to size and ran it through the Stampin’ Cut & Emboss Machine through the Timeworn Type EF.
Toward the mid upper left of the image panel, I lightly blended in Flirty Flamingo ink with a Blending Brush and then adhered the image panel to the card base with Seal.
I then splattered my homemade silver across the card front, as shown below.
HOW TO MAKE SILVER SPLATTERS
I took apart my Clear Wink of Stella Glitter Brush and using the end of a toothpick, I picked up a little bit of Basic Gray Ink Refill and dipped it into the Wink of Stella. I put the brush back together, tested the splatter on Grid Paper. You have to build this up to your preference and wing it. It’s easier to build up the color vs. trying to remove it. I was good with using the toothpick twice. You want to be sure to shake the daylights out of the brush when you put it back together to blend the refill with the glitter brush.
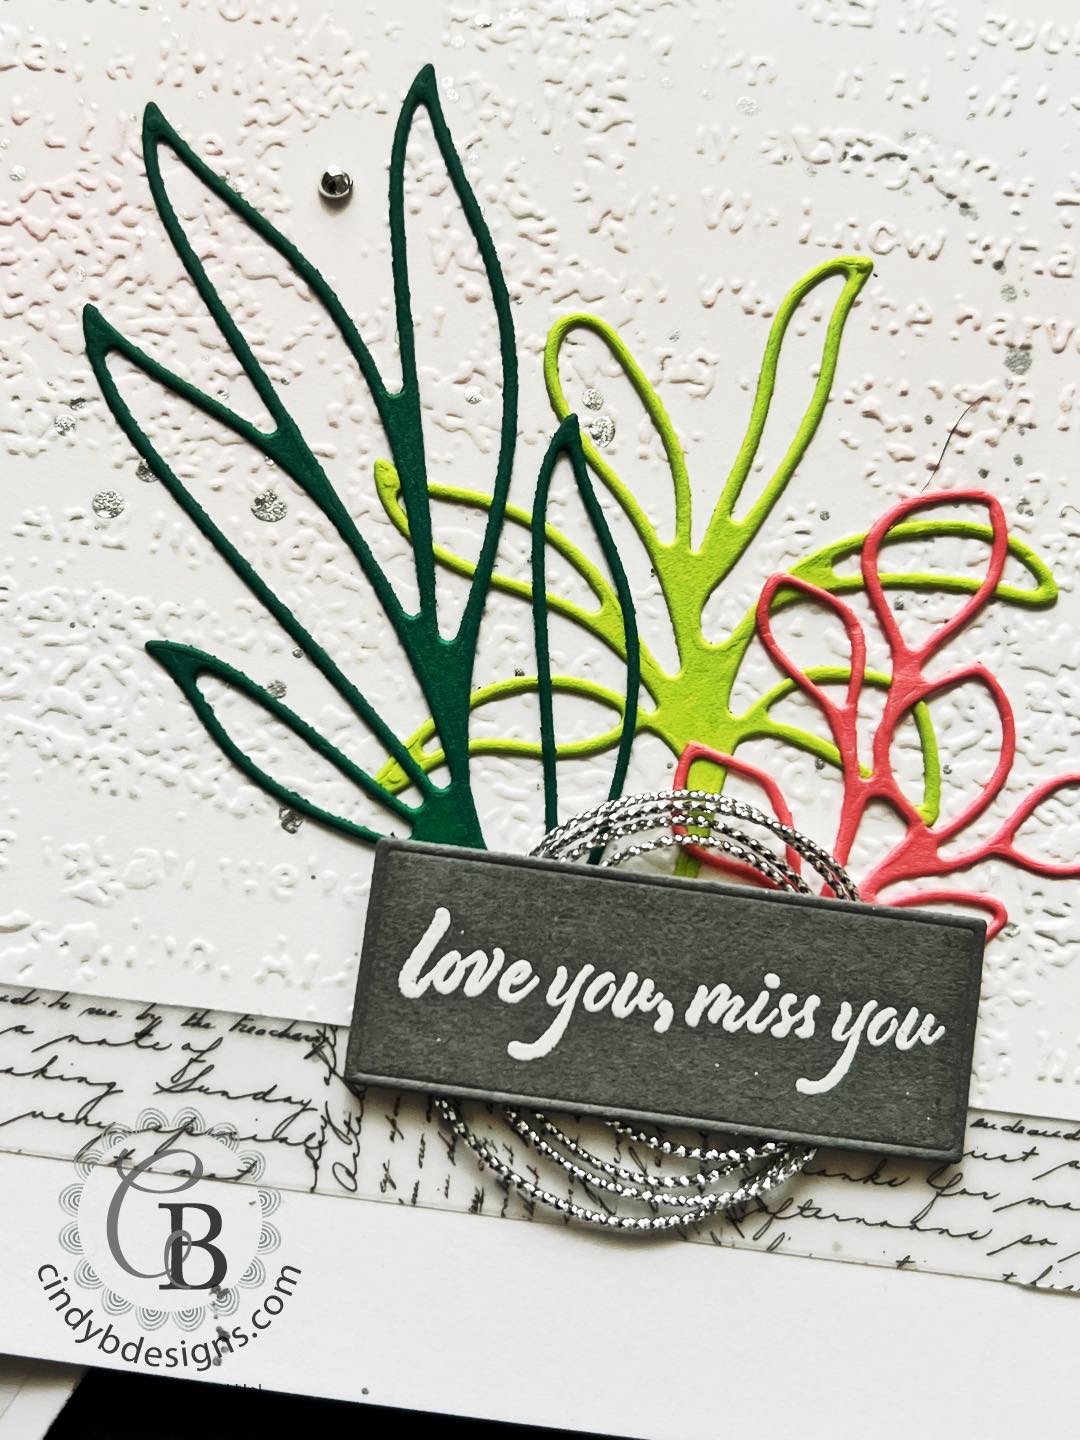
Using dies from Splendid Stems, which is part of the Splendid Day Suite Collection, I cut my 3 greenery sprigs from Shaded Spruce, Parakeet Party, and Flirty Flamingo.
I stamped the sentiment with Versamark ink onto Basic Gray CS then heat embossed with white powder. I cut the sentiment from a rectangular die from Give It a Whirl.
I added an Adhesive Sheet to the back of black script Layering Vellum then cut and bannered to size.
For final assembly, I adhered the greenery to the image panel with liquid adhesive laying down the Parakeet Party CS in the middle first with the Shaded Spruce and Flirty Flamingo on each side.
I adhered the vellum script under the image panel with the banner end on the left.
The silver Simply Elegant Trim circled up on its own that I adhered to the back of the sentiment with a little bit of Seal placing Stampin’ Dimensionals between that was placed on the card front.
I hope you enjoyed today’s project and please let me know if you have any questions.
Thank you for stopping by for a visit and have a great day!


")
")


 Layering Designs")


")


|
|
|
|
|
|
|
|
|
|
|
|
|
|
|
|
|
|
|
|
|
|
|
|
|
|
|
|
|


- Card base: A2 top-folding 4-1/4 x 5-1/2, Basic White Thick CS.
- Image panel: 4 x 4-3/4, Basic White Regular CS embossed with Timeworn Type EF.
- Scripty panel: 3-7/8 x 1/2″, Layering Vellum Designer Series Paper.