Hello there! Thank you for joining me today for a simple coloring card with Stampin’ Blends and the Framed Florets Bundle. This was quick coloring without too much blending. Today’s fresh, spring colors are Pumpkin Pie, Daffodil Delight, Old Olive, and Highland Heather.
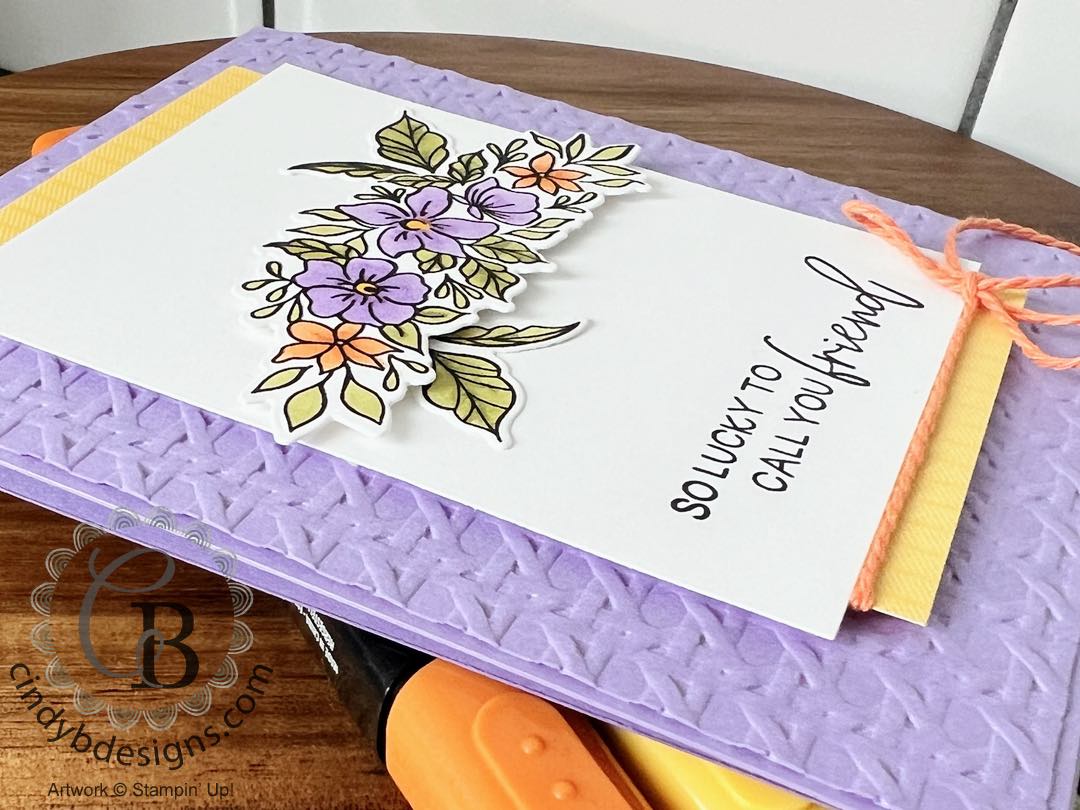
This was super easy to make. I’m using my embossing folders and twine a lot more lately. I can’t believe it’s already April. Only one more month to the new 2023-2024 Annual Catalog release and I’ll be sharing projects from that with you in a few days! Look for a newsletter packed full of information with this release, new In Colors, and everything you need to know about the new Annual Catalog.
As always, your shopping Supplies and Instructions, including measurements, are below.
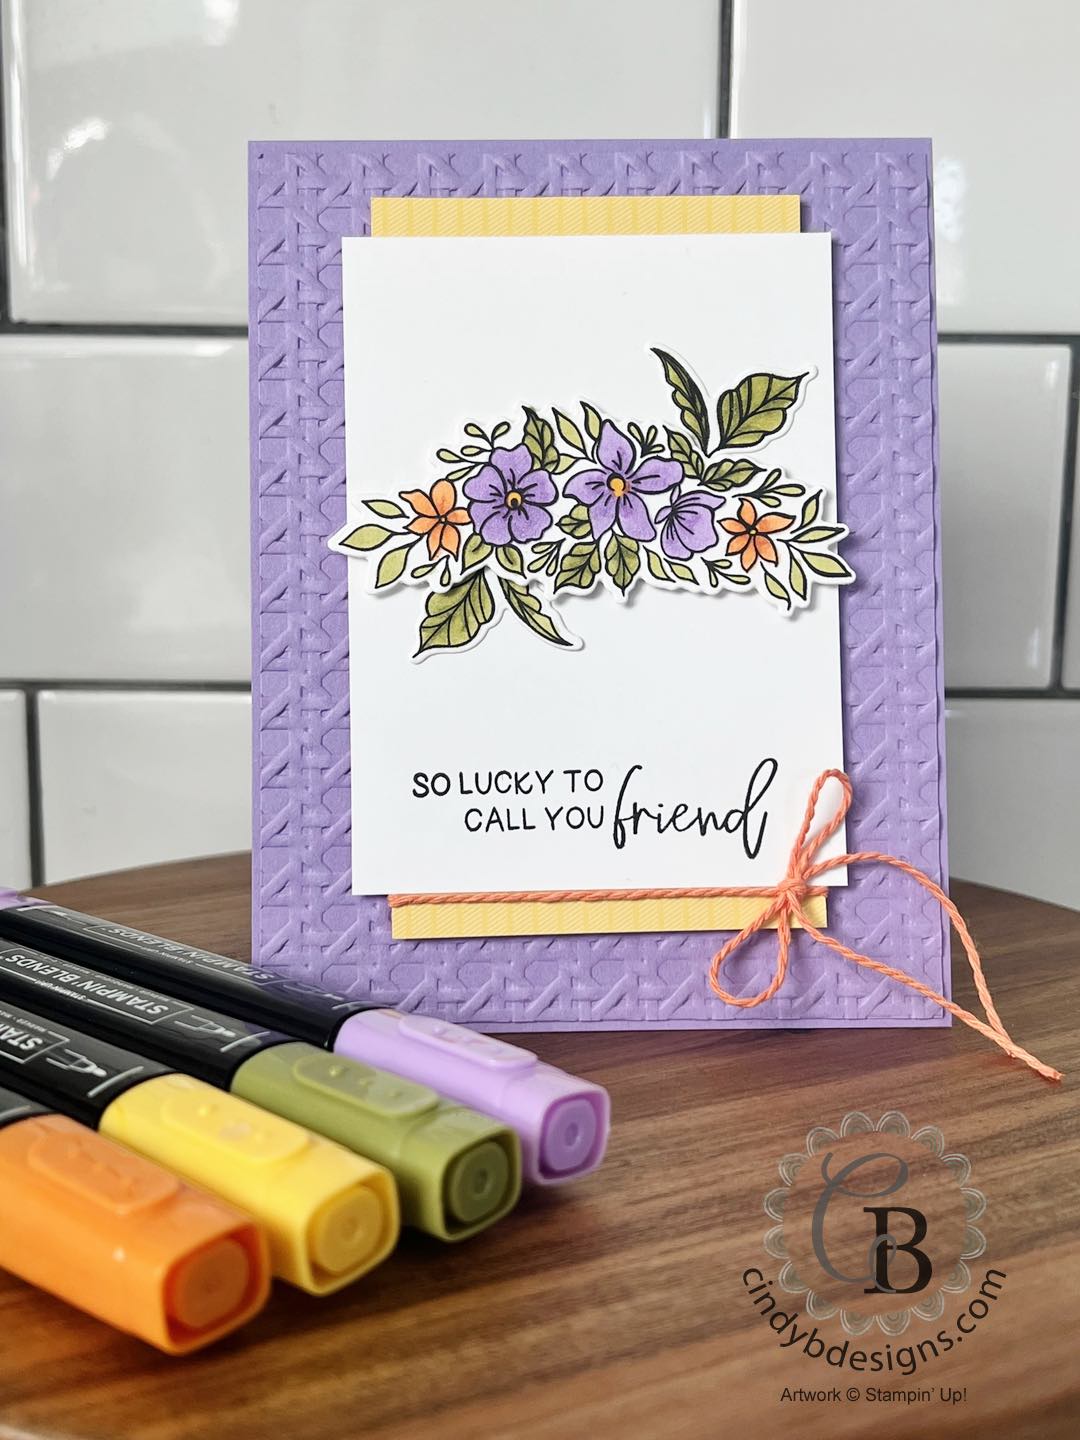
I started out with my Highland Heather card base and cut another piece of Highland Heather CS to size that I embossed with the Cane Weave 3D Embossing Folder and adhered this to the card base with liquid adhesive.
I stamped all of my images from Framed Florets onto Basic White Thick CS with Smoky Slate ink. Be sure to leave the images on the lid of your Stamparatus to re-stamp in Memento Tuxedo Black AFTER you’ve colored in the images to crisp and polish up the line art.
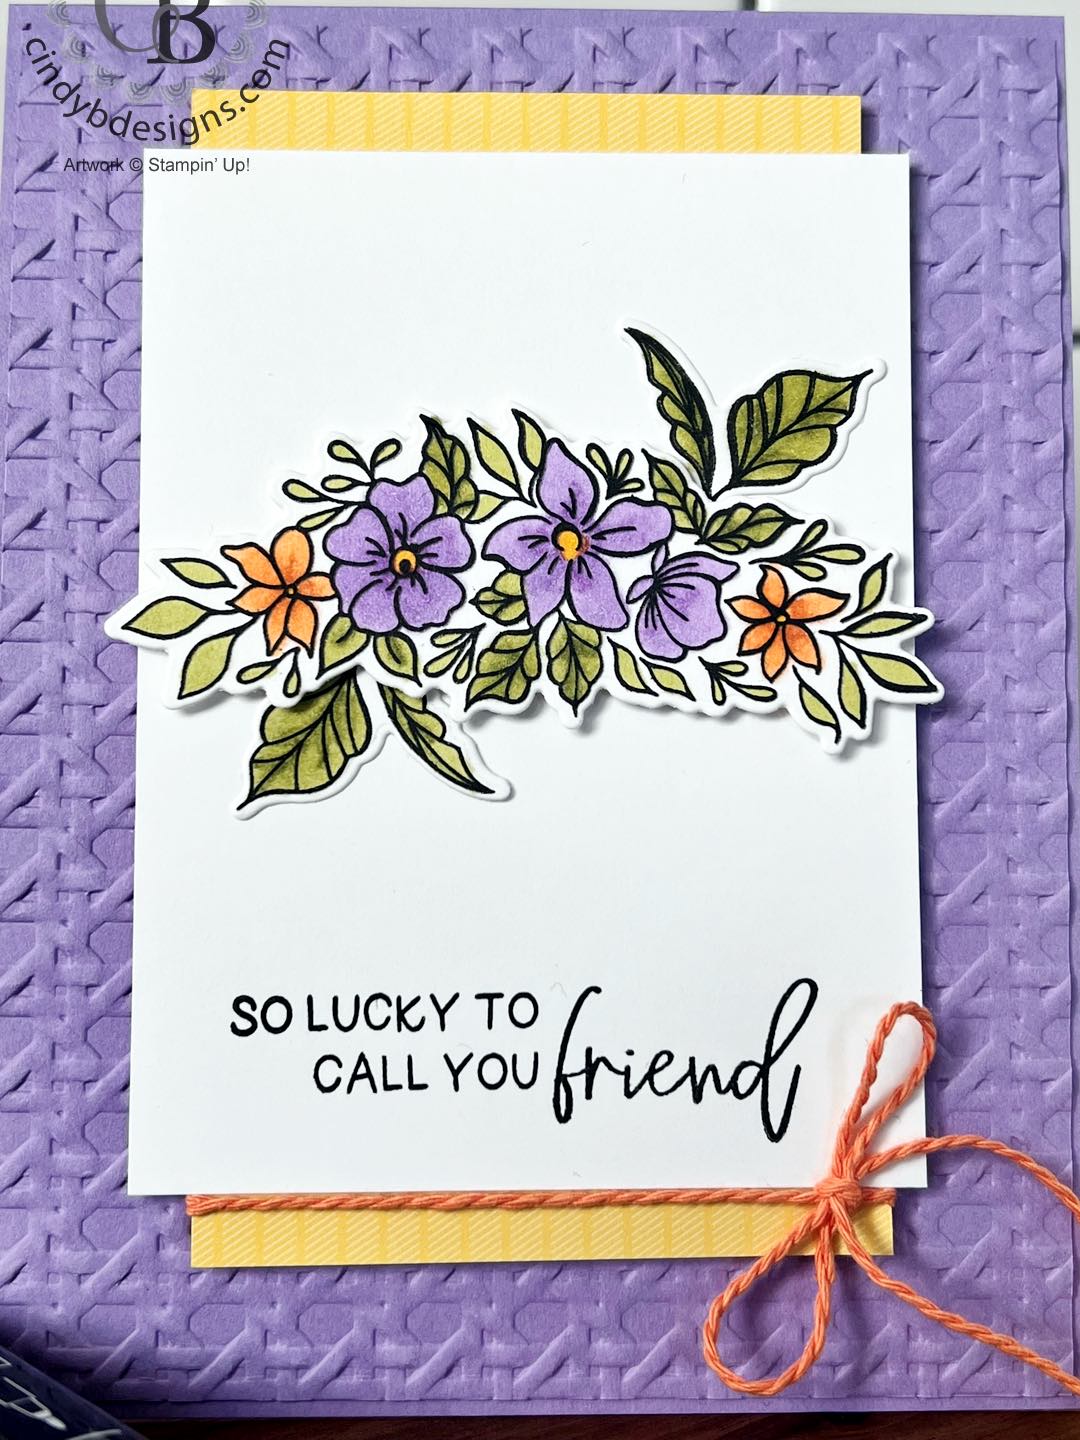
I colored the images with our Stampin’ Blends Markers in the following manner:
- Center large flowers: Highland Heather Dark and Light.
- Outside flowers: Pumpkin Pie Dark and Light.
- Leaves with line art veins: Old Olive Dark and Light.
- Leaves with line art outline: Light Old Olive.
- Stamens: Daffodil Delight Dark.
After all of the images were colored in, they were all re-stamped with Memento Tuxedo Black to crisp up the line art. This technique also covers any small coloring imperfections. All of the images were then cut from their coordinating Framed Florets Dies.
I wing and figure out my measurements after I cut my images out so everything is cohesively flows. I lay everything out and measure, rearrange everything and measure, rearrange again and measure, then put it all together rearranging and remeasuring again.
After I did the above, I cut my image mat and panel to size, and stamped the sentiment at the bottom of the image panel in Memento Tuxedo Black and adhered the image panel to the image mat with liquid adhesive.
For final assembly, I put Stampin’ Dimensionals on the back of the large center floral arrangement and adhered that to the center of the image panel. The leaves were tucked in under the center floral with liquid adhesive.
I tied a piece of Pumpkin Pie Baker’s Twine around the bottom of the card as shown and then adhered the entire panel to the card base with Stampin’ Dimensionals.
I hope you enjoyed today’s project and please let me know if you have any questions.
Thank you for stopping by for a visit and have a great day!


|
|
|
|
|
|
|
")
 Designer Series Paper")


|
|
|
|
|
|
|
|
|
|
|
|
|
|
|
|
|
|
|
|
|
|
|
|
|
|
|
|
|


- Card base: A2 top-folding 4-1/4 x 5-1/2, Highland Heather CS.
- Embossed mat: 4-1/8 x 5-3/8, Highland Heather CS.
- Image panel mat: 2-5/8 x 4-1/2, Subtles 6 x 6 DSP, Daffodil Delight.
- Image panel: 3 x 4, Basic White Regular CS.