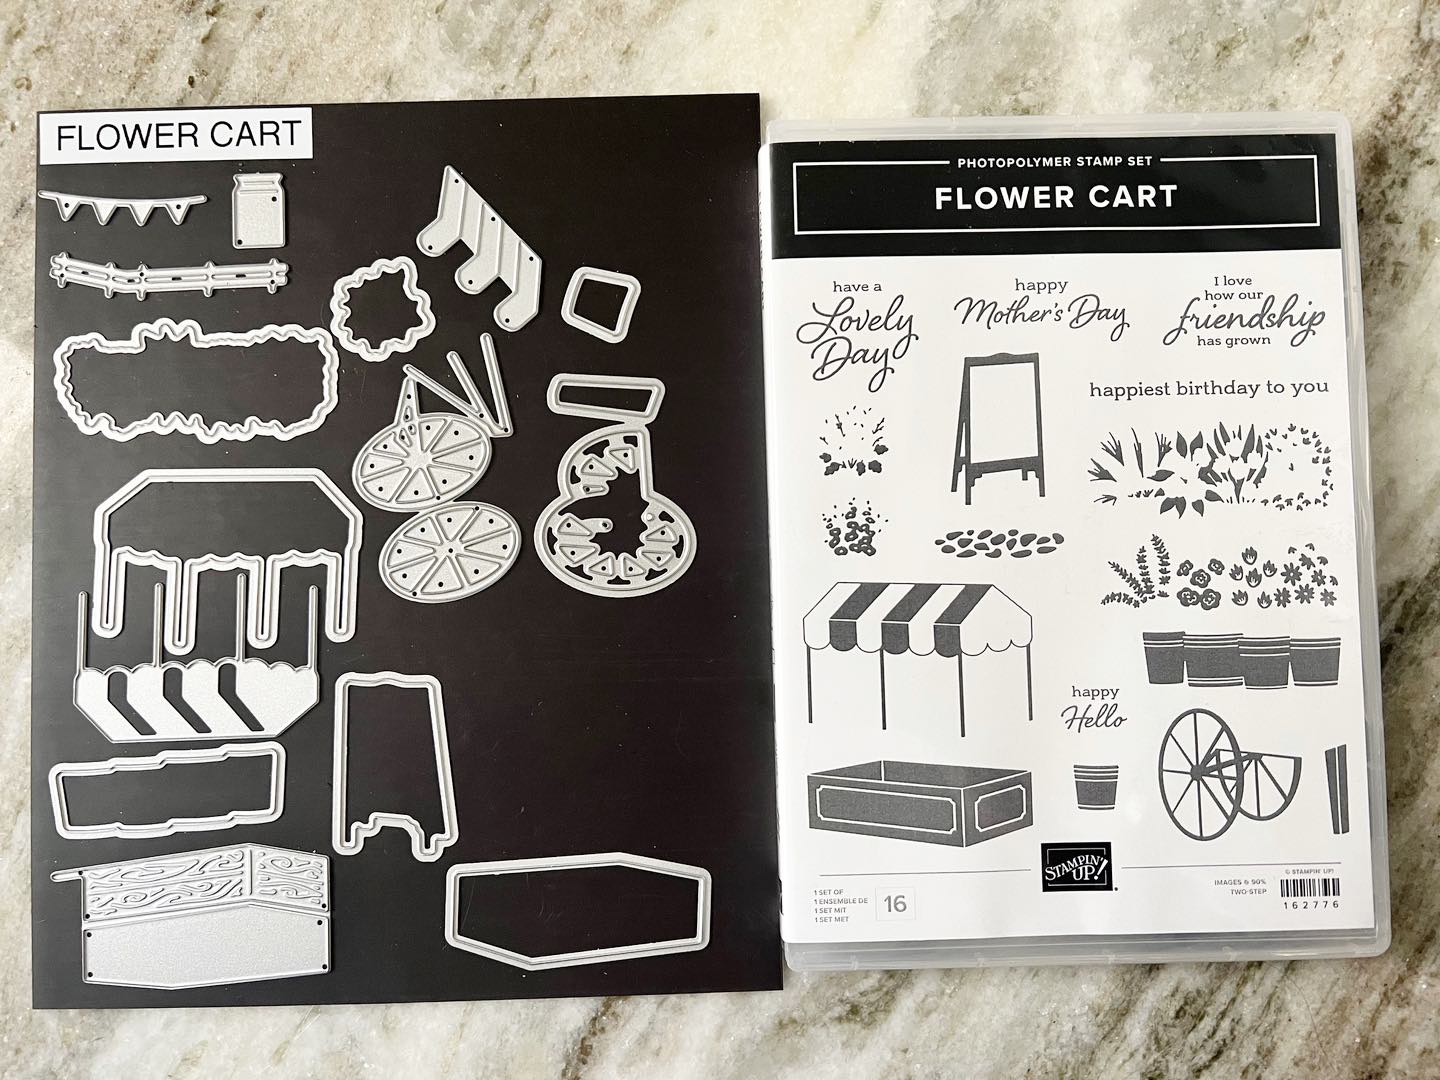
Hello there! Thank you for joining me today for a card created from the Flower Cart Bundle, available to you on January 4, 2024. This bundle coordinates perfectly with Les Shoppes Suite Collection in the Annual Catalog. This is such a fun bundle and playing with it will be fun.
For today’s card, I brought in the Les Shoppes Designer Series Paper and dirtied it up. This is a super easy technique. The Les Shoppes DSP Balmy Blue was too ‘bright’ for what I wanted so I dirtied it up by removing part of the color and it worked perfectly.
- Cut your designer series paper to size.
- Lightly run sandpaper over the top.
- Ink up a Blending Brush or Sponge Dauber with Whisper White Craft Ink and lightly apply evenly on the DSP.
- Take a Basic Gray Colored Pencil and lightly color over the white lines on the DSP.
As always, project specific supplies with basic supplies are below.

I started out with a landscape A2 Basic White Thick CS then cut my Balmy Blue CS mat and Les Shoppes DSP to size. I used the above technique on the DSP and adhered this to the mat with liquid adhesive, which was then adhered to the card base with Seal.

I then went about stamping and die-cutting my images from Flower Cart onto Basic White Regular CS in the following colors:
- Gorgeous Grape: Awning, sentiment, flower pot.
- Greenery: Garden Green.
- Flowers: Real Red.
- Copper Clay: Card, sign.
- Pecan Pie: Wheels, stand|peg.
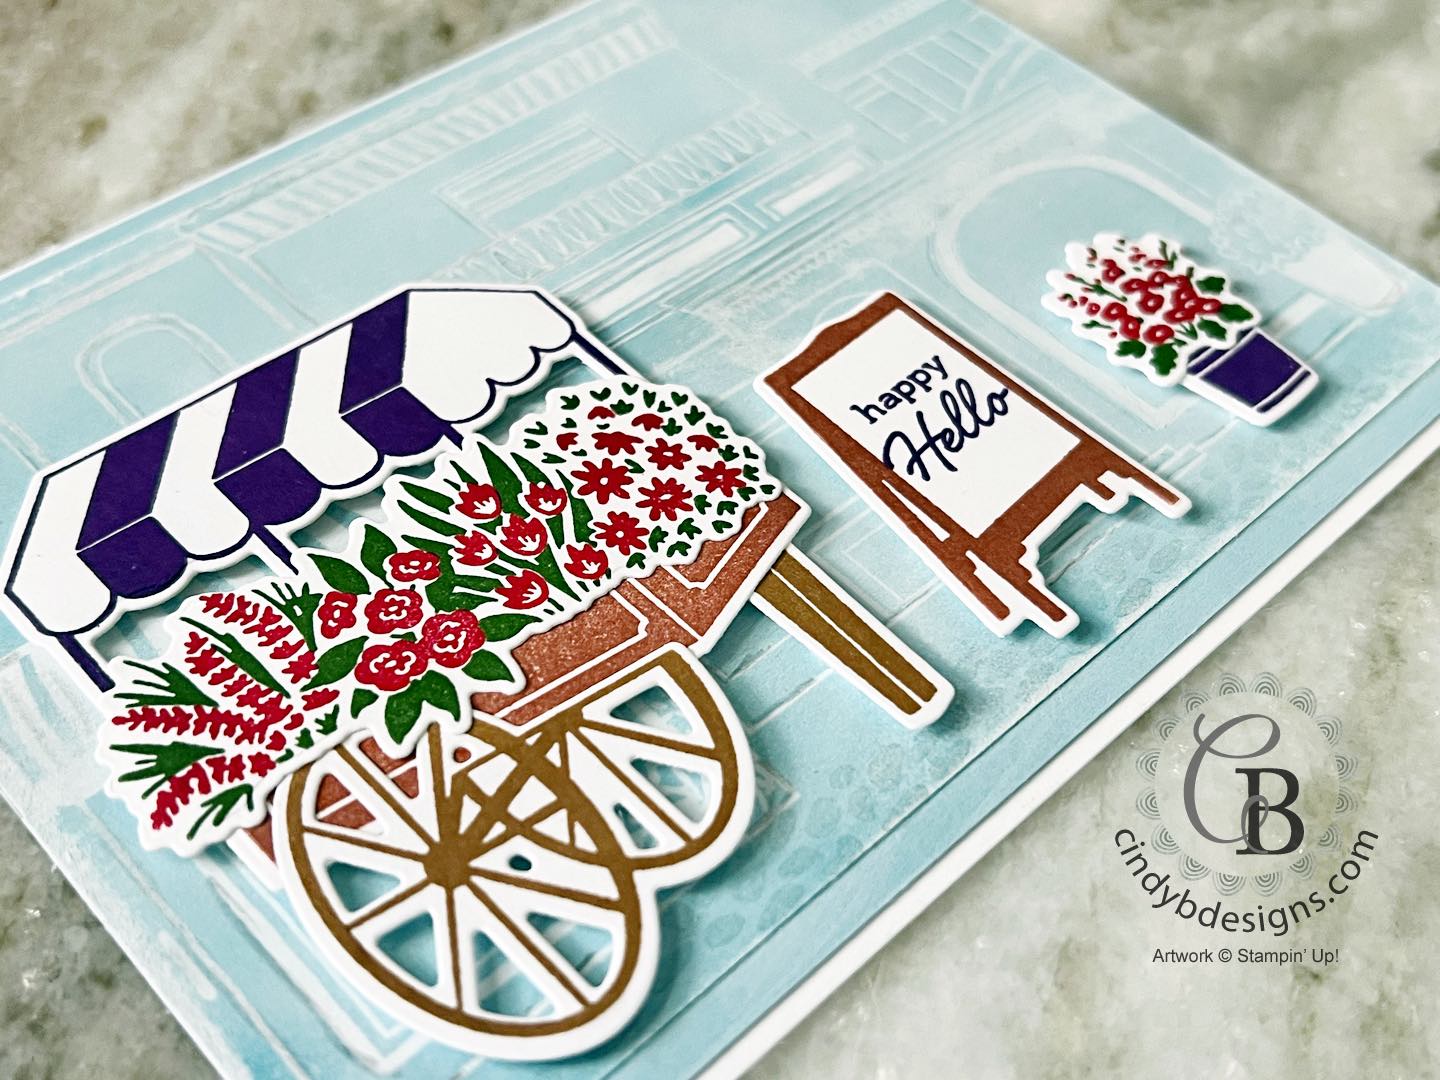
For final assembly, all of the images were adhered to the DSP with Stampin’ Dimensionals.
I hope you enjoyed today’s project and please let me know if you have any questions.
Thank you for stopping by for a visit and have a great day!


|
|
|
||
|
|
|||
|
|
|
")


|
|
|
||
|
|
|
|
|
|
|
|
|
|
|
|
|
|
|
|
|
|
|
|
|
|
|
|
|
|
|
|
|
|
|
|
|
|
|
|
|
|
|
|


")


