Hello there! Today I have for you a card that is totally out-of-the-box for me and I absolutely loved making it. This card is so uniquely and truly handmade, down to the DIY flair in the center of the card. I also made a fatal mistake to the point where I almost tossed this one over size. We all make mistakes on cards and use whatever we can to cover it up, improvise, you name it. We’re a very resourceful group.

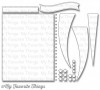
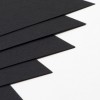
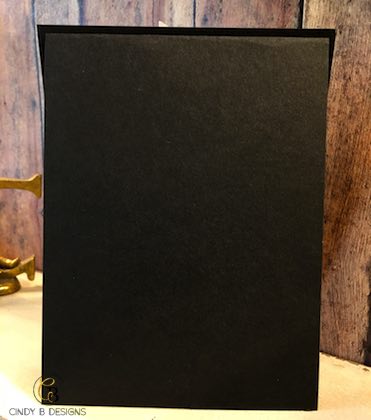
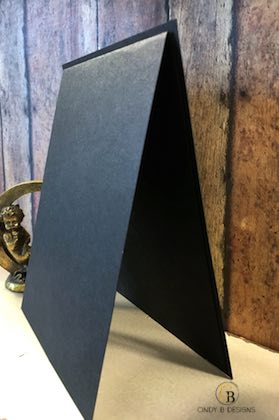
I used MFT Stamped Blueprints 25 to die-cut my image panel before I started to work on it and the stitch die in there is the size of an A2 card front. I was not going to die-cut this down one more size of else it would throw off my scale since I had designed the card around this size. So I cut a piece of MFT Stamps Black Licorice cardstock 1/8″ larger than A2 size and adhered it to the back of my image panel. I then made a regular A2 size top-folding card and centered that on the back of the Black Licorice cardstock. It turned out great! You can’t tell at all and it looks very cool from the back. Just make sure that the bottom of the mat and card base are flush and you’re good to go. Whew! I was so relieved. It’s kind of common sense if you think about it to either make a bigger card or cut down the distressed piece, but I didn’t want to do that. I don’t have a lot of 12 x 12 cardstock and what I do have doesn’t have the weight I need to support my image panel and mat.
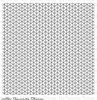
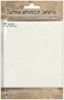
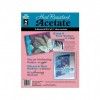
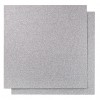
I started out with some Tim Holtz/Ranger Distress Watercolor Paper. I love the crisp white color of this cardstock. Using my full-size MISTI, I stamped the MFT Stamps Geometric Grid Background Stamp onto the watercolor paper with MFT Stamps Biscotti Premium Dye Ink Pad. Now for the crazy part…I then took some Distress Glaze and ever so lightly covered the background stamp using my finger and re-stamped my image to seal it. I knew the Biscotti ink would reactivate with all of the distress ink and water I was planning on using to make this most excellent background, and it worked! You can see the background stamp under my distress work that was your basic ink blending, a little smooshing with acetate and letting the distress do its thing. I used Twisted Citron and Mowed Lawn for my greens and Tumbled Glass and Broken China for my blues. I used the Tim Holtz Spritzer Tool to achieve my Black Soot ink splattering with a Distress Marker just in the lower right corner. I let my cardstock dry naturally any time that I’m using water. The colors are so much more vibrant and not washed out. It just looks better and while I’m always in a hurry, there’s plenty of other stuff I can do while waiting, like start a new project that will sit on my desk for another 3 weeks before I blog about it, but anyhow…I actually thought this card out since I wanted to do something different.
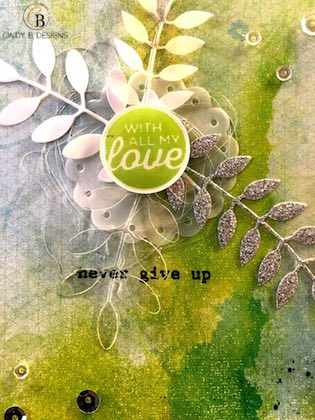
I have a small collection of flairs that are adorable, but none of them went with my theme or colors and I was determined to have a flair in the center of my card. I grabbed my Technique Tuesday Love Borders stamp set and went to work. I stamped the “With All My Love” sentiment with Sour Apple Premium Dye Ink onto Smooth White cardstock and punched it out with a 1″ Stampin’ Up! punch. The 7/8″ punch might have worked better. It just looked too small to me when I was trying to size it up, but I’m okay with the small white border around my DIY flair and am glad I used the 1″ punch. It would not have looked right without the border. To turn this into a “flair,” I used a 1″ Clear Epoxy Sticker and placed it over the top of my sentiment circle. Perfect fit and it worked.
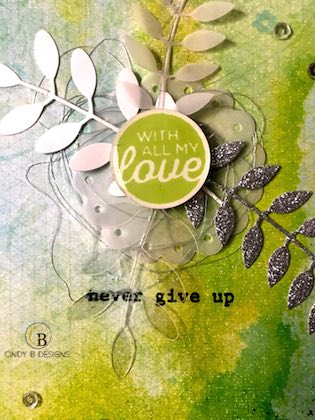
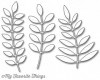
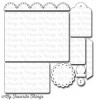
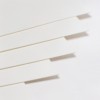
My first layer on top of the distress is a piece of vellum die-cut with MFT Stamps Blueprints 6 of a scalloped circle with small holes punched in the middle of the scallop. Remember back in the old days when we had to do scallops by hand and paper piercing the holes? No thanks. Under the vellum, I made a messy silver metallic thread nest. To tie all of my “greenery” in, I die-cut MFT Stamps Bold Greenery Die-Namics from vellum, silver glitter, white and acetate cardstock. I added a piece of foam tape to the back of my DIY flair and adhered the various greenery behind it as well. I adhered the flair and greenery to the vellum scallop circle with Ranger Multi-Matte Medium, added more adhesive behind the vellum for my thread nest and then adhered it all to the front of my card. It just didn’t look right. Before the adhesive had a chance to set up, I took everything off, sized up where I could stamp a black sentiment to tie in the black from the splatters, stamped the “never give up” from Altenew (I forgot the stamp set name, but any small sentiment will do) with Versafine Onyx Black, my favorite black ink for sentiments, again, using my MISTI stamping tool and was able to double stamp it twice to get the deep, vivid black sentiment that was the absolute finishing touch that this card needed. I adhered all of that stuff back onto the card, which was super easy since it was adhered together previously. I added a mix of sizes and colors of silver and clear sequins to the front of the card and done.

I am very happy with the end result, especially considering the size issue. This card will not fit into a regular-sized envelope, but you can make one of your own with the Stampin’ Up! Envelope Punch Board so the card will fit perfectly. No worries.
Thank you so very much for stopping by to visit me today. I really appreciate it. Have a fabulous day and God bless.