Hello there y’all! For today’s project, I CASE’d myself from publication a decade ago and changed everything up. The pictures do not give this card justice whatsoever. There is just zero natural light and editing can only go so far. There’s a little time involved with this one, but worth it. However, there was no way I was going to fuss with the tilde.
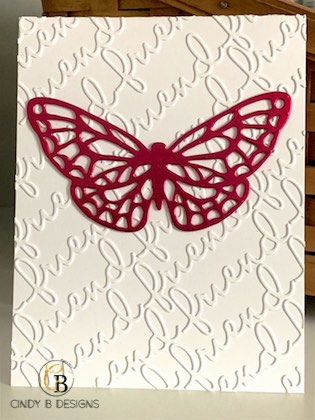
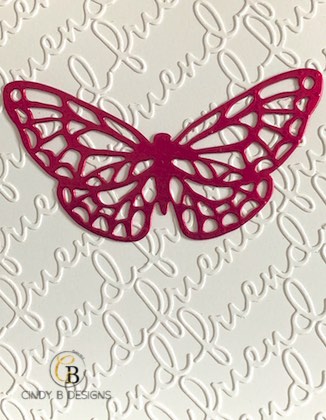
The large butterfly Framelit from Abstract Impressions and ‘Friend’ script word from Well Written is all that’s on front. I started out with a Thick Whisper White A2 top-folding card base and also cut the ‘Friend” die from the same as I adhered a Multipurpose Adhesive Sheet to the back, knew there was some weeding out of the loops in the words, and didn’t want crumpled up card stock. I started to lay down the script at the top left of the card and let the F and D of the word determine my spacing, which kept me even without a ruler. The butterfly Framelit was cut twice with a piece of Lovely Lipstick and the same color Foil Sheet with a Multipurpose Adhesive Sheet. I simply lined them up and adhered, which wasn’t hard at all, considering you have zero wiggle room with the adhesive sheets.
I feel like I’m missing something on this project and don’t know what it is. What do you think?

Thank you so much for stopping by today for a visit. Have a great day and God bless.