Hello there! Thank you for joining me today for a shaker card created from the Rain or Shine Suite Collection.
I brought in Fabulous Frames and Seasonal Labels + ribbon and embellishments outside of the suite collection, that all coordinate beautifully.
This did not take long to make and was very easy to assemble.
Everybody loves a good shaker card.
This suite collection is the cutest ever and I’m not good with cute but, this is fun to work with.
The Rain or Shine Suite Collection also coordinates with our February Paper Pumpkin Kit of Sunshine & Smiles + new Add-On Die-Cuts that I hope to be featuring later this week with a few alternatives over the weekend using the kit and suite collection.
Along with the suite collection, I brought in gingham ribbon and sequins. The only thing I stamped was the sentiment.
As always, your shopping Supplies and Instructions, including measurements, are below.
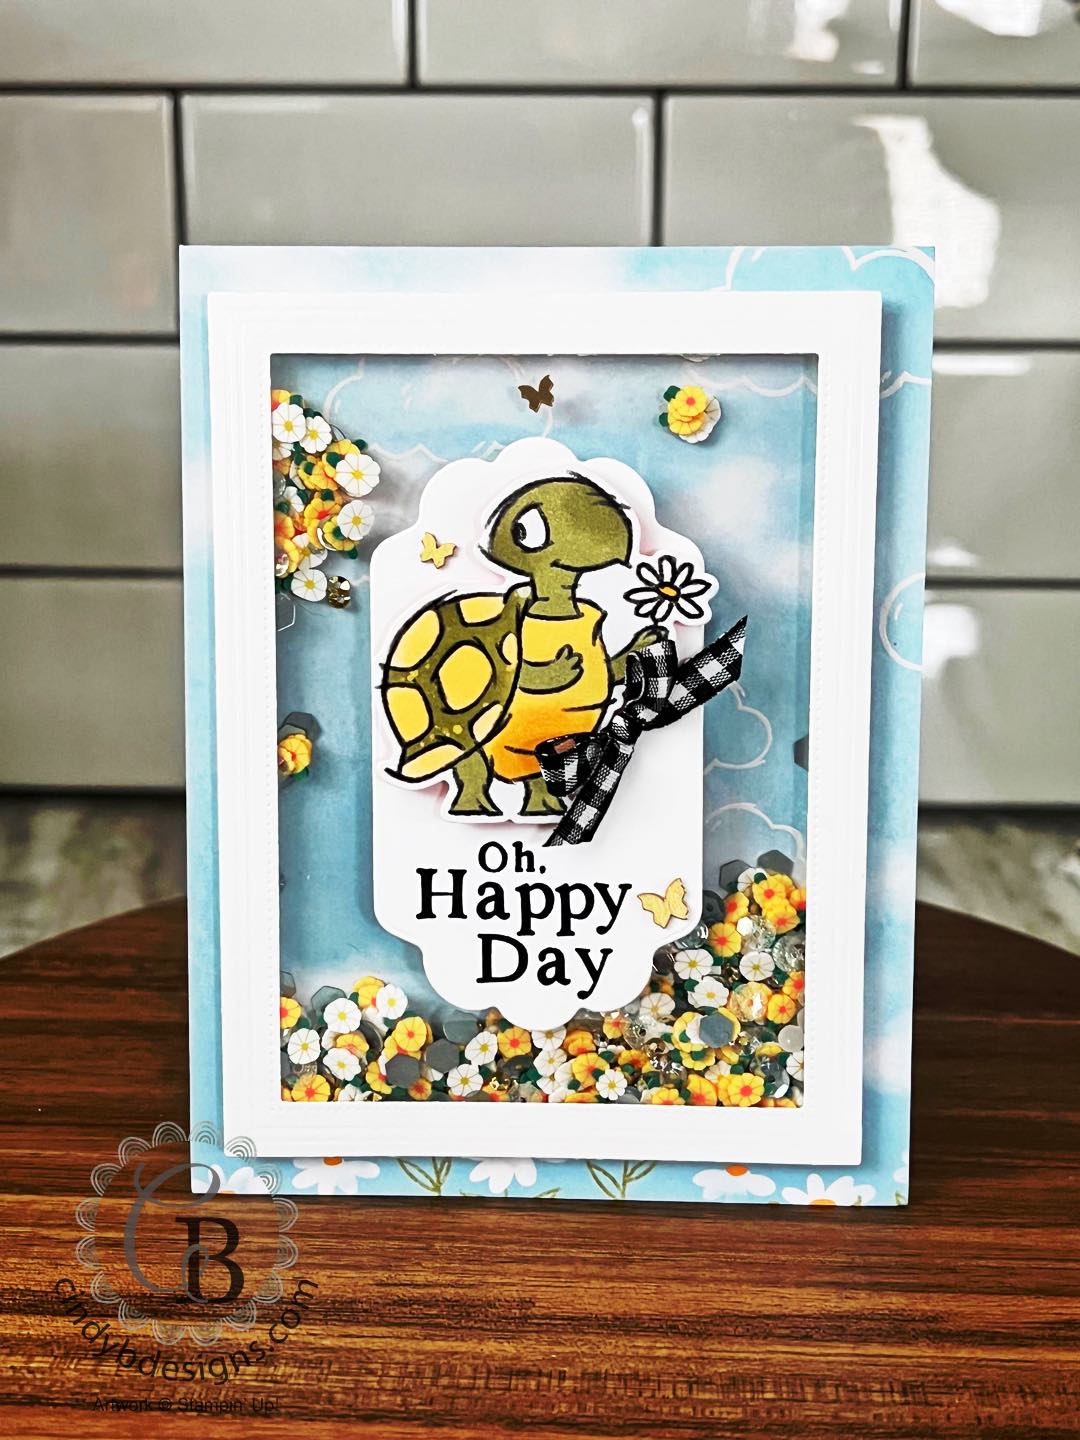
I started out with my card base and layered on a piece of Rain of Shine Specialty Designer Series Paper with Seal Adhesie.
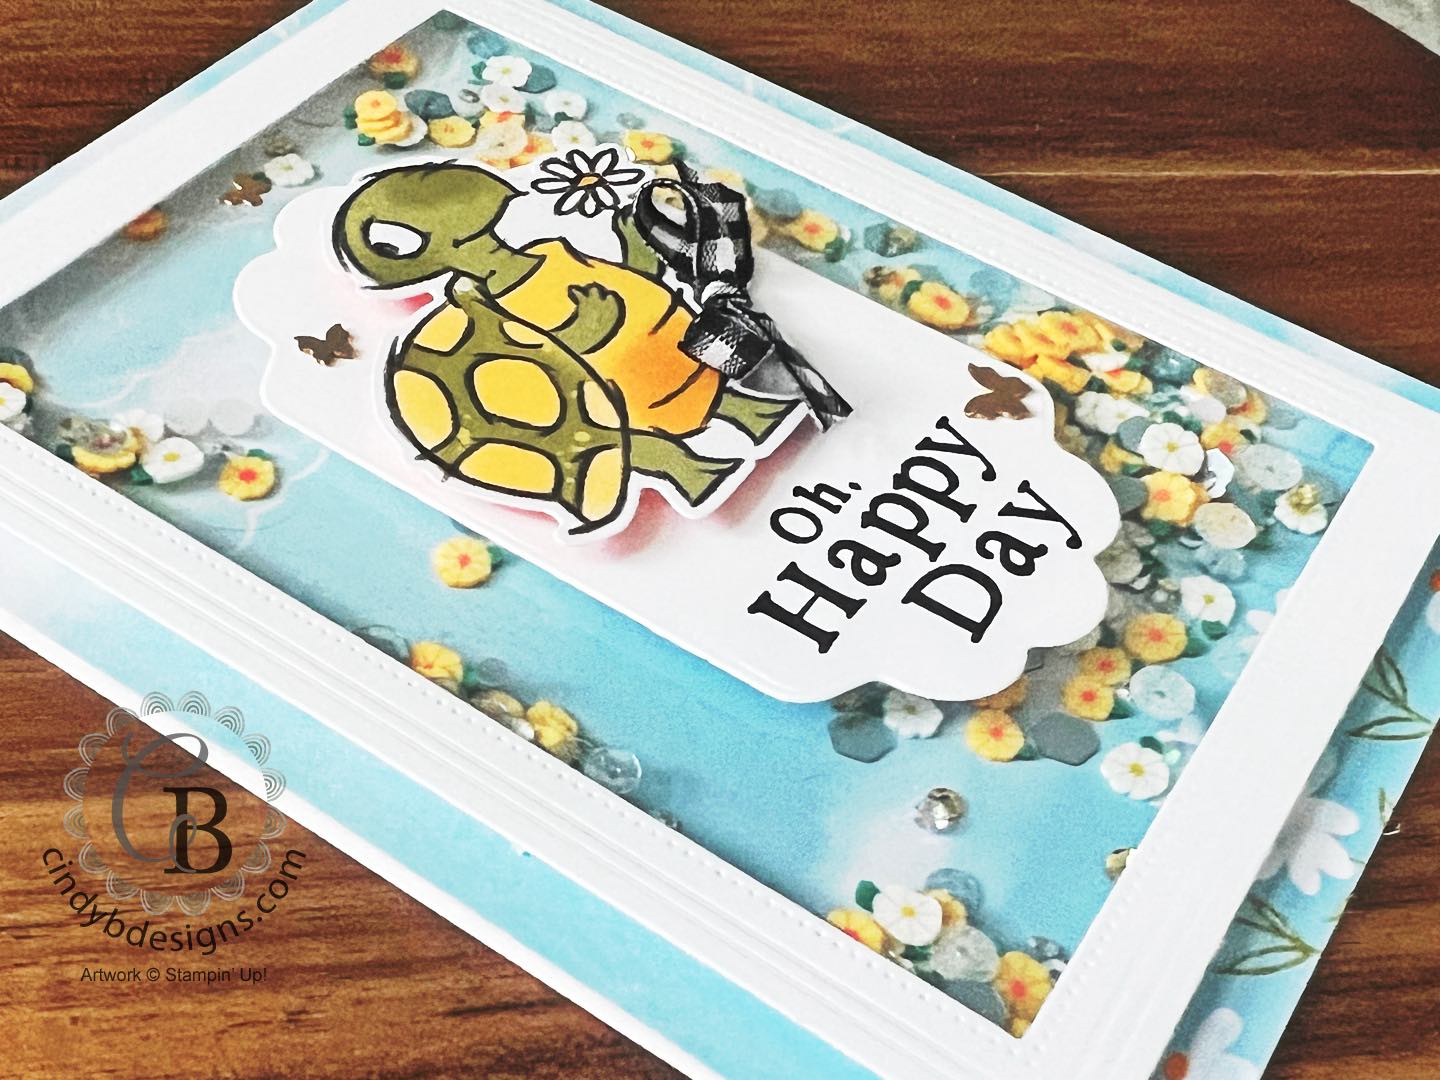
I die-cut my frame from Fabulous Frames and added Tear & Tape around the entirety of the frame on the back side. I cut my Window Sheet to size and adhered this to the Tear & Tape.
Adhesive Foam Strips were applied around the entirety of the frame.
Loose Daisy Embellishments and blue For Everything Fancy Sequins were added to the center of the card base and spread around a little within the parameters of the Window Sheet frame so it would be easy to apply the frame over the shaker “guts” to adhere.
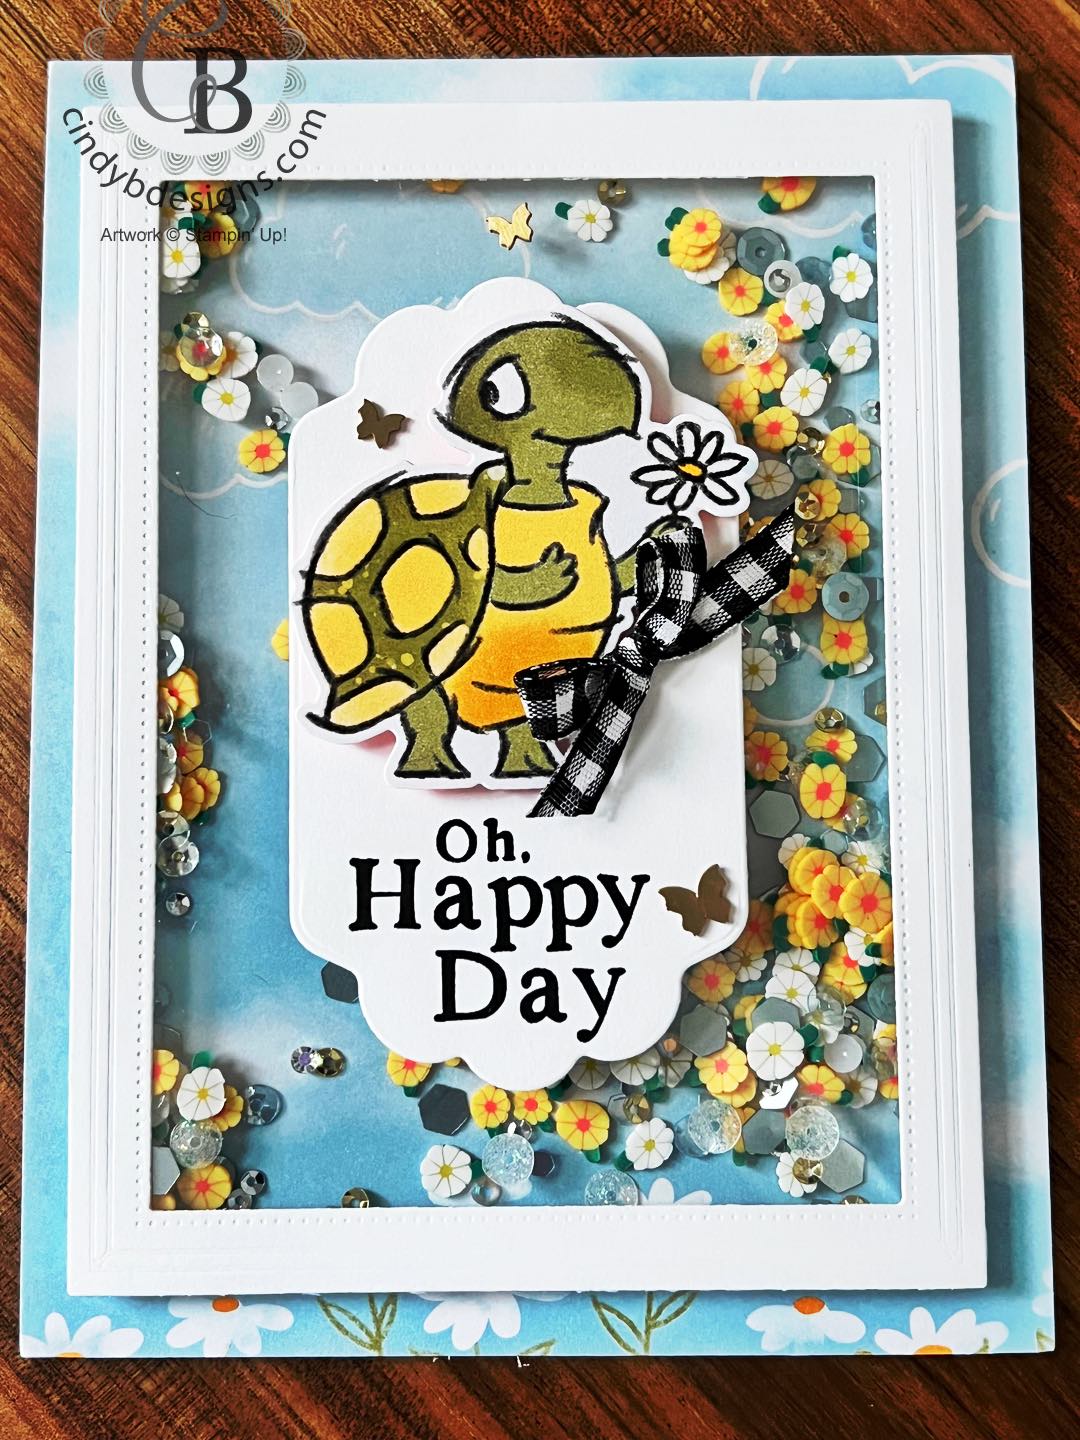
I then cut the image/sentiment panel from Seasonal Labels and stamped the sentiment from Playing in the Rain stamp set at the bottom in Memento Tuxedo Black ink. This was adhered to the Window Sheet Frame with Tear & Tape.
I die-cut the turtle from Rain or Shine Specialty Designer Series Paper using the coordinating die from Playing in the Rain Dies. I added Stampin’ Dimensionals to the back of the turtle and adhered it to the panel as shown.
For final assembly, I tied a little bow from Black & White Gingham Ribbon and tucked it under the turtle’s belly with a Mini Glue Dot.
One large and 2 small Brass Butterflies were adhered to the card as shown.
This is such a fun, spring-like that card and I would love to see your take on this.
I hope you enjoyed today’s project and please let me know if you have any questions.
Thank you for stopping by for a visit and have a great day!


|
|
|
|
|
|
|
|
|
|
|
|
")


 Gingham Ribbon")


|
|
|
|
|
|
|
|
|
|
|
|
|
|
|
|
|
|
|
|
|
|
|
|
|
|
|
|
|


- Card base: A2 top-folding 4-1/4 x 5-1/2, Basic White Thick CS.
- Card base DSP: 4-1/4 x 5-1/2, Rain or Shine Specialty Designer Series Paper.
- Shaker frame: Cut from the largest Fabulous Frames Dies, Basic White Regular DSP.
- Window Sheet: 3-5/8 x 4-3/4.
- Sentiment panel: Cut from the Seasonal Labels Dies measuring 1-7/8 x 3-3/8 at widest point, Basic White Regular CS.