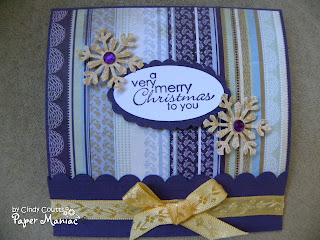
Good morning friends. I hope your weekend was relaxing. We all get caught in the situation where somebody gets left off of our Christmas list accidentally and we run into them days before Christmas at church, school, mall, grocery store or the gym. Instead of hoping they don’t see you and being in a very uncomfortable position, how about making several of these adorable Post-It Note holders? You can easily fit several of them in your purse. Make sure you put a handmade tag on the back and you can quickly write in their name. These are easily mass producible and are fun to make. I will teach you how to make one of these holders using a 4 x 3 Post-It Notepad. I got mine at Michael’s where they were two for $1.00 in various Christmas themes. The purple ones that I used particularly caught my eye because I wanted something a little different. Not only that, but if you look in magazines and stores, the “in” colors this year are purple and silver with splashes of light blue. Very trendy and edgy. Since 4 x 3 is not the usual size for Post-It notes, I had to make a template from scratch. The materials used of my paper, Martha Stewart snowflake punch, ribbon, adhesive and gemstones are all available in the Paper Maniac store.
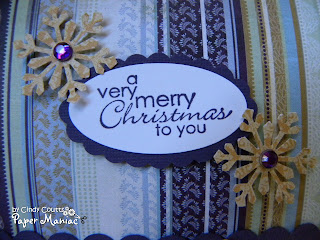
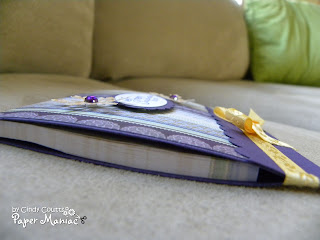
To make your Post-It Note holder, cut a sturdy piece of card stock to 4-1/8 x 9. Score on the 9-inch side at 3-3/8, 3-9/16, and 7-9/16. You can use an edge punch closest to the 7-9/16 score line. Burnish your score lines. I used a piece of double-sided sticky strip under the score line closest to the scalloped edge and carefully folded it up so that the sides are even. I tied a ribbon around the bottom with a bow. I then used another piece of double-sided sticky strip right under the 3-9/16 score line to place my Post-It Notepad on so that it would be securely adhered. I cut a 4 x 3-3/4 piece of designer paper and securely adhered that to the front of my holder. I stamped and punched a sentiment and adhered that to the front with foam dots. I punched out my snowflakes and adhered them with foam dots as well placing a gemstone in the middle of them. I tucked the cover under the scalloped edge bottom and voila! An adorable and fun gift that anybody is surely to enjoy that is quick and easy to make, not to mention cost-effective.
I’ll have another idea for you next Monday, but in the meantime, be sure to come back every day for more inspiration and other surprises that Patti will have in store for you. November is a great month at Paper Maniac!


