
Hello there! Welcome to the Cindy B Designs Clean and Simple Tuesday Series.
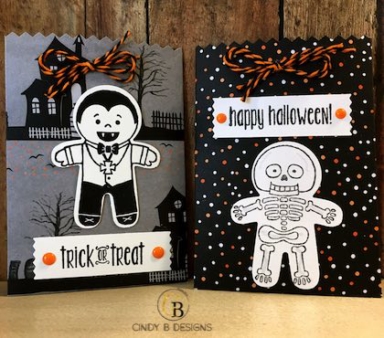
Today I have a process video for you on how to make these totally adorbs Halloween Treat Bags. They are so easy to make! You can make these projects with your kids and they are also perfect for assembly line mass production.
In the video, I have a great tip for Stampin’ Up! Demonstrators and my Great Pumpkin story on how to keep candy chaos to a minimum without meltdowns, sugar highs or cavities. I have 4 adult kids and it worked like a charm every single year. These treat bags along with my story are sure to make the cut, especially with the moms.
If you would like to make these treat bags, head on over to my online Stampin’ Up! store or click on the links below for the products that I used. Stampin’ Up! has a special going on if you buy 3 packs of designer series paper, you get one pack for free! You could also use this same bag for holiday treat gift bags too!
Please enjoy the video and thank you so much for stopping by to visit me today. I hope that you have been inspired by my work. Have a fabulous day and God bless.
DIMENSIONS
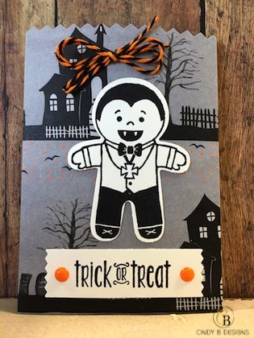
- 6″ x 4-1/2″ Halloween Night Specialty Designer Series Paper
- Score at 1/2″ on the 4-1/2″ side
- Score at 1-1/4″ and 4″ on the 6″ side
- Snip at an angle as shown in video in the center 1/2″ score line on both sides and cut off left and right tabs
INSTRUCTIONS on video
SUPPLIES|PRODUCTS USED
I forgot to add Glue Dots!
|
|
|
|
|
|
|
|
|
|
|
|
|
|
|
|
|


OTHER: Pinking Shears