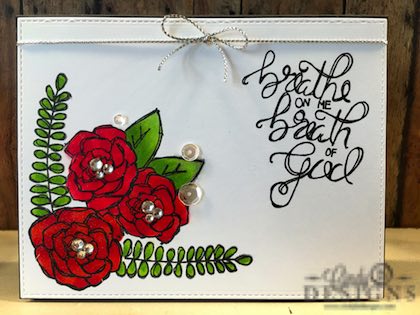
Hello there and a happy Sunday to you. I’m up on the Sonshine Stamp Company Blog today featuring this beautiful flower card created with the Breath of God stamp set. I did some masking and Copic coloring on my image panel. The one thing I love about photopolymer stamps is that you can bend them any which way you want on your acrylic block. The bottom right fern is the same stamp that I used for the fern that’s on the far left side of the card. This took some serious manipulation as the right hook in the image would not have worked at the bottom. This card was very easy to color. I used the same 3 Copic markers for the greenery and each red flower has their own color combination.
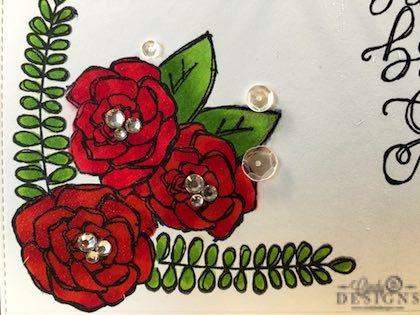
As I was stamping the very last leaf, of course, on the right towards the sentiment coming out of my flower bunch, I had cleaned the stamp with my shammy as I had to move the leaf to reposition it on my MISTI. A little bit of water pooled up on the inside of the stamp after I had inked it up again. When I closed the door of the MISTI and opened it back up, I was horrified to see the black puddle of water around the edges of the leaf and a little bit inside. This was not going in the trash – not after all of that masking. A sanding block, eraser and sheer determination to salvage this card saved it, not to mention the sequins.
As always, I cut my image panel from MFT Die-Namics 15 – stitch detail goes on everything I make. I also heat embossed my sentiment with clear embossing powder and blinged out this card big time. A list of supplies and instructions will be posted below.
My Copic marker color combinations, used in order, are:
GREENERY: YG03, YG25, YG17
BOTTOM FLOWER: R05, R08, R37
LEFT FLOWER: R35, R27, RV29
RIGHT FLOWER: R24, R17, R29
Thank you so very much for stopping by to visit me today and God bless! Have a great day.


![]() Cut a piece of MFT Stamps Gravel Gray card stock to 5-1/2 x 8-1/2, rotate and score at 4-1/2. Cut a piece of white fun foam with MFT Stamps Blueprints 15 and trim off the stitched edge. Cut a piece of Smooth White card stock with MFT Stamps Blueprints 15.
Cut a piece of MFT Stamps Gravel Gray card stock to 5-1/2 x 8-1/2, rotate and score at 4-1/2. Cut a piece of white fun foam with MFT Stamps Blueprints 15 and trim off the stitched edge. Cut a piece of Smooth White card stock with MFT Stamps Blueprints 15.
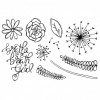
![]() Stamp the flower image and small leaf image onto masking paper and fussy cut. Stamp your first flower in the lower left corner with Copic-friendly black ink and place your mask over the flower. Stamp the fern image on the left side and bottom of the image panel. Continue to stamp and mask the remaining flowers and leaves. Stamp sentiment at the upper right corner of the image panel and heat emboss with clear powder.
Stamp the flower image and small leaf image onto masking paper and fussy cut. Stamp your first flower in the lower left corner with Copic-friendly black ink and place your mask over the flower. Stamp the fern image on the left side and bottom of the image panel. Continue to stamp and mask the remaining flowers and leaves. Stamp sentiment at the upper right corner of the image panel and heat emboss with clear powder.
![]() Color in images with the Copic markers or any other coloring medium of your choice. Color over images with a Wink of Stella Clear Glitter Pen.
Color in images with the Copic markers or any other coloring medium of your choice. Color over images with a Wink of Stella Clear Glitter Pen.
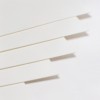
![]() Adhere the white fun foam to the back of the image panel. Tie silver cording around the top of the card into a bow then adhere the image panel to card stock base.
Adhere the white fun foam to the back of the image panel. Tie silver cording around the top of the card into a bow then adhere the image panel to card stock base.
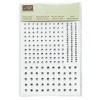
![]() Adhere rhinestones to the center of the flowers and adhere clear sequins in various sizes around the card in a visual triangle.
Adhere rhinestones to the center of the flowers and adhere clear sequins in various sizes around the card in a visual triangle.