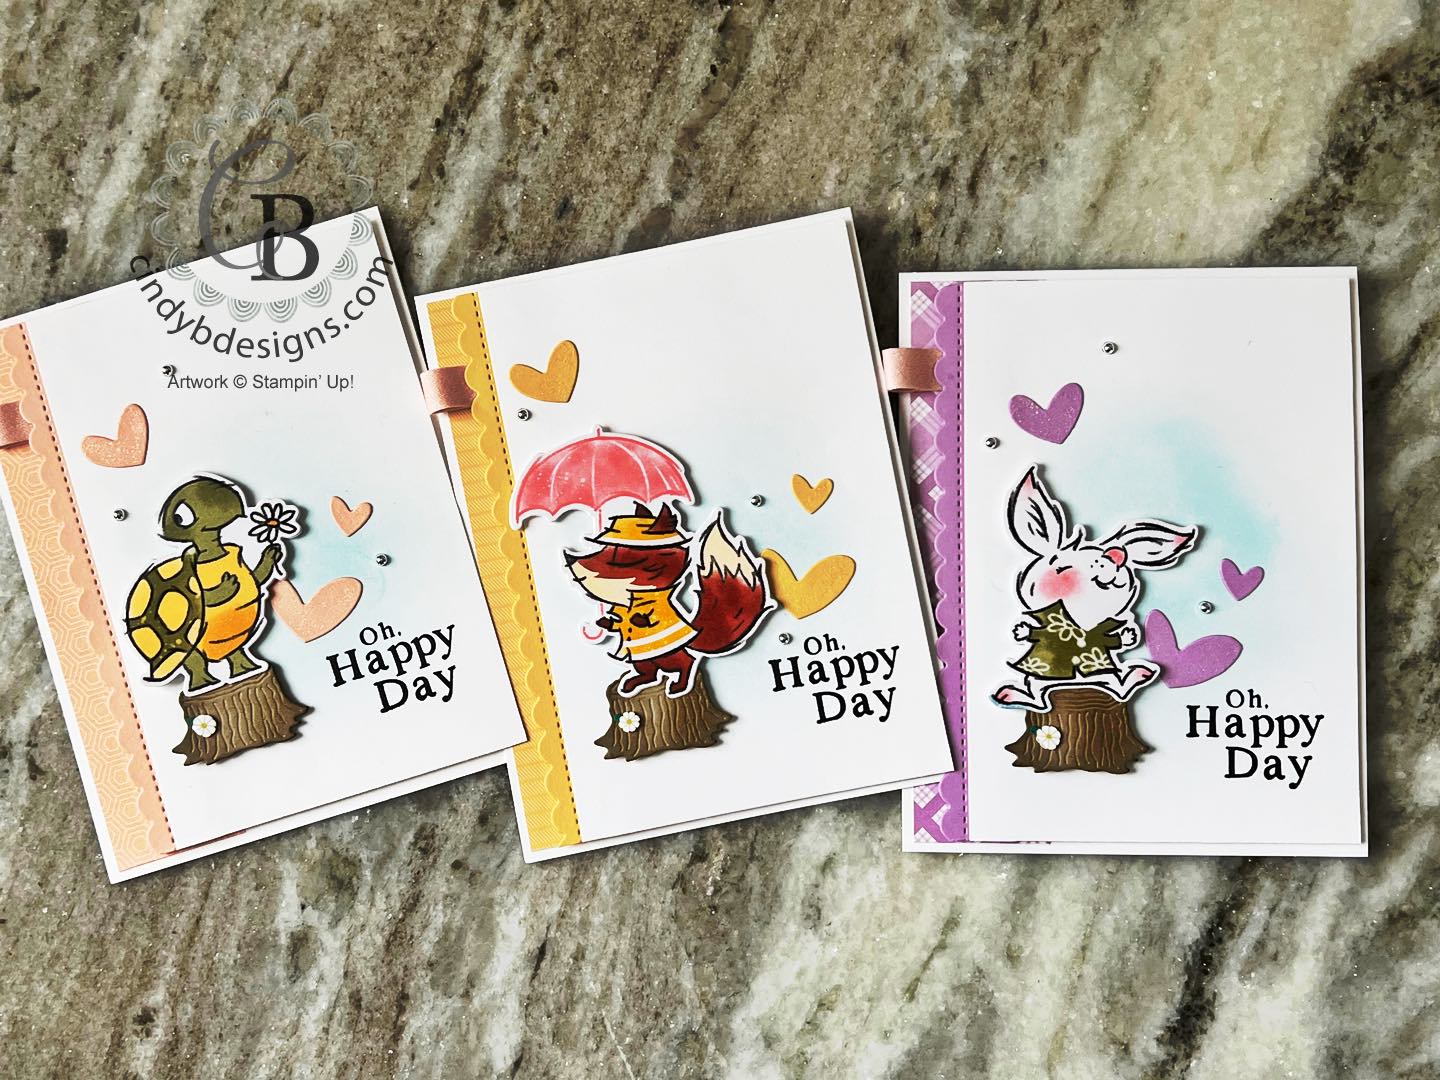
Hello there! Thank you for joining me today for a sneak peek into the super cute Playing in the Rain Suite Collection on pages 50-51 of the new Spring Mini Catalog, available to you on January 5, 2023.
The standalone die-cuts are amazing featuring a bridge, build your own kits, tree stump, and so much more + die-cuts that coordinate with the designer series paper, which is shown on today’s cards.
This is a nice-sized suite collection consisting of a stamp set, die-cuts, embossing folder, daisy embellishments, and designer series paper in Flirty Flamingo, Cajun Craze, Mango Melody, Old Olive, Balmy Blue, and Basic Black.
I brought in our Subtles 6 x 6 Designer Series Paper from the Annual Catalog and the new Dandy Designs DSP on page 14 of the Sale-A-Bration Brochure. I love the patterns and designs in Dandy Designs and will be using them frequently, along with the Country Gingham 6 x 6 DSP.
The scallop border is from Penned Flowers Dies and hearts from the new Share a Milkshake Dies, which was the focus of Tuesday’s project.
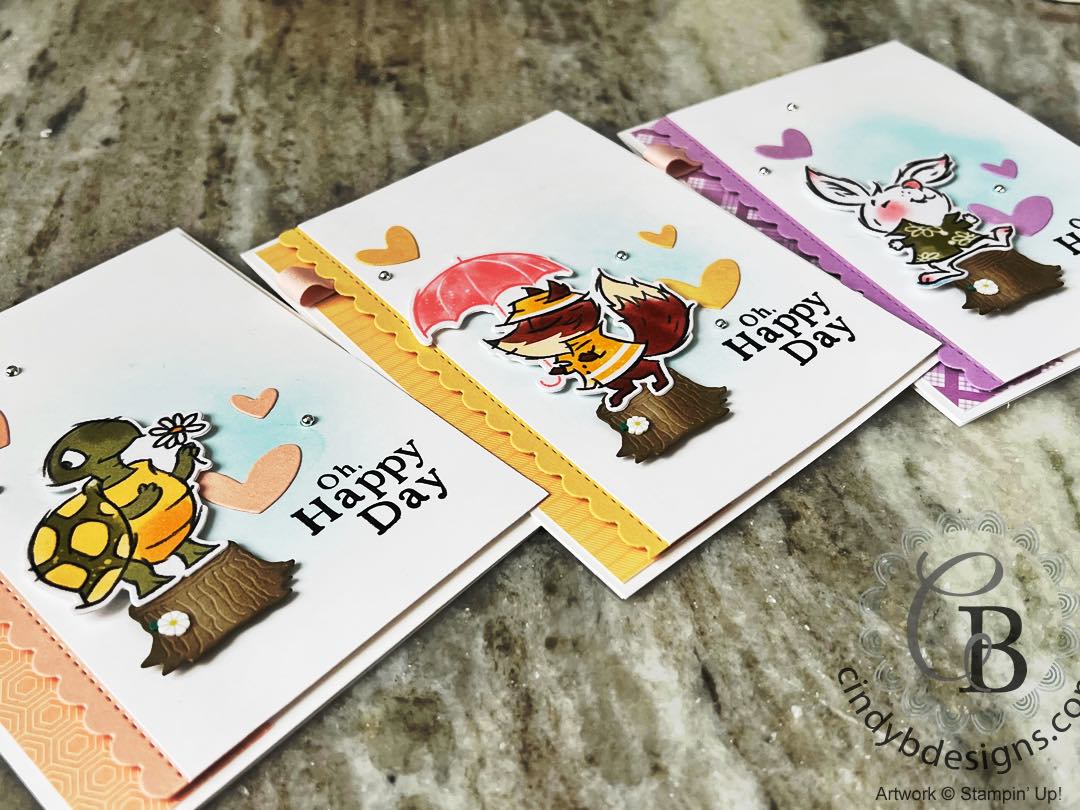
All 3 cards have the same measurements and sketch with soft pastels. I am so ready for spring, especially after the latest polar vortex and not having water for 3 days due to my pipes freezing over Christmas.
As always, your shopping Supplies and Instructions, including measurements, are below.
I started out with 3 A2 card bases from Basic White Thick CS. I cut the designer series paper to size and adhered to the card base at the left with Seal Adhesive.
I cut the scallop die from Petal Pink, So Saffron, and Fresh Freesia CS. I cut the image panel to size and used a large Blending Brush to apply Balmy Blue ink to the center right. The sentiment from Playing in the Rain was stamped in Memento Tuxedo Black ink. The scallop die was adhered behind the image panel with Tear & Tape.
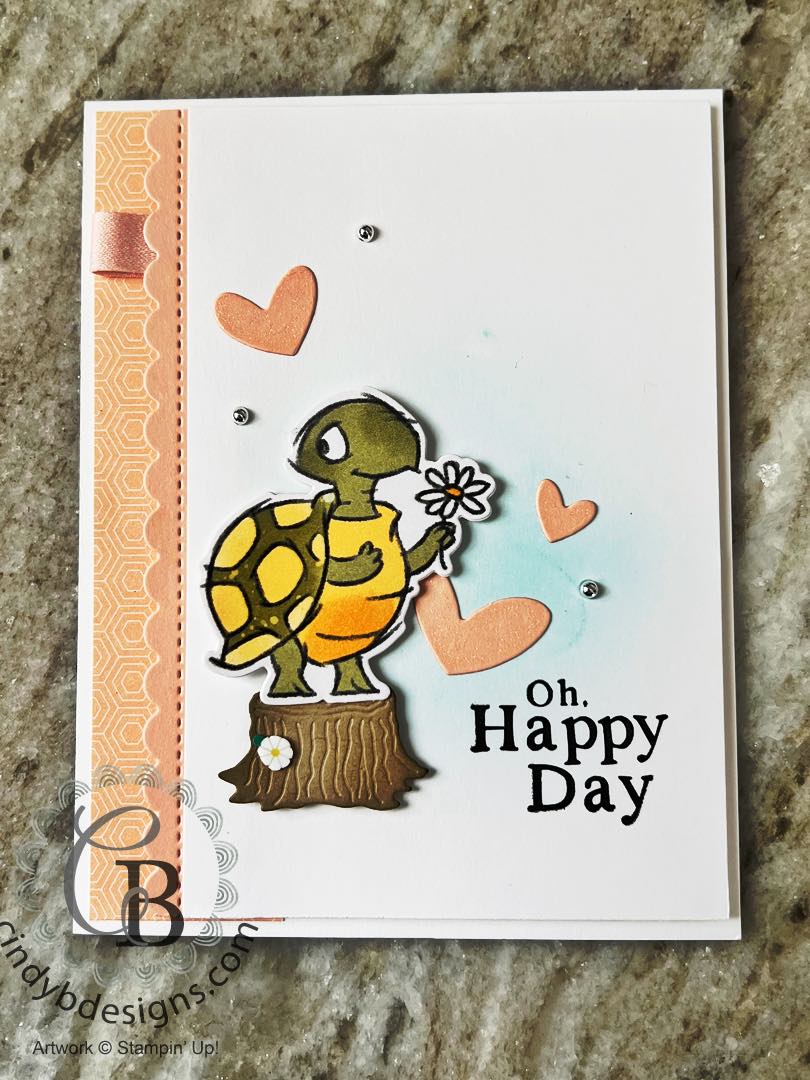
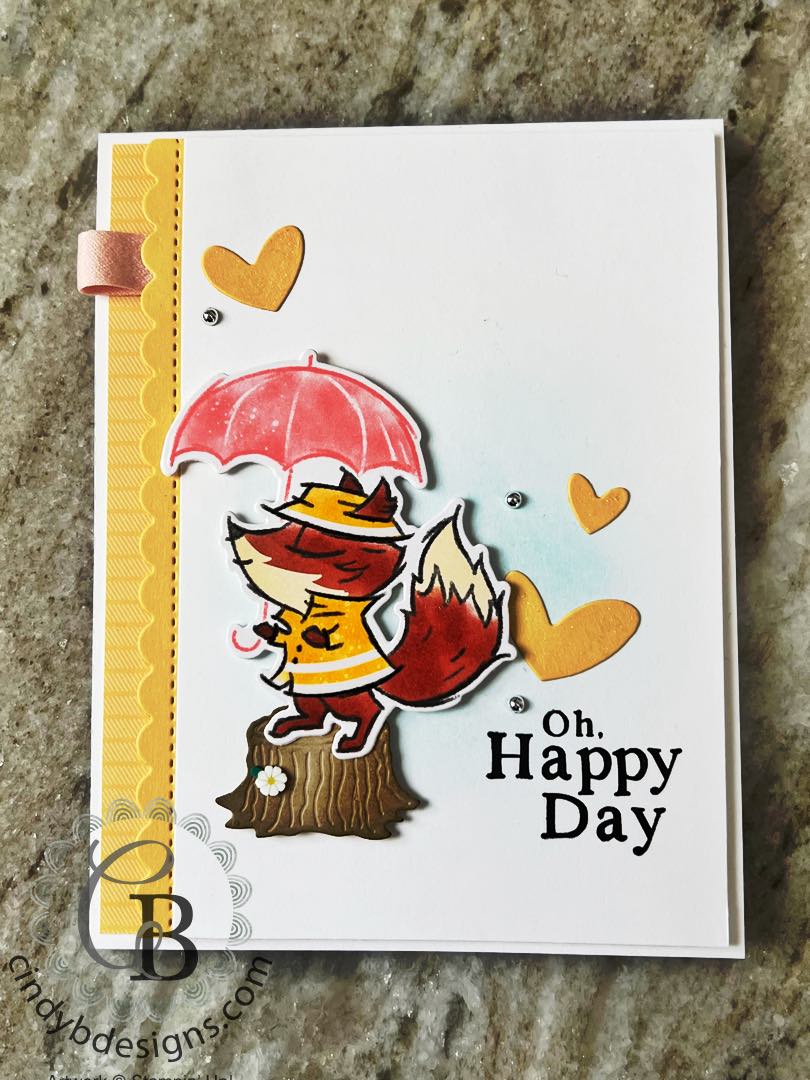
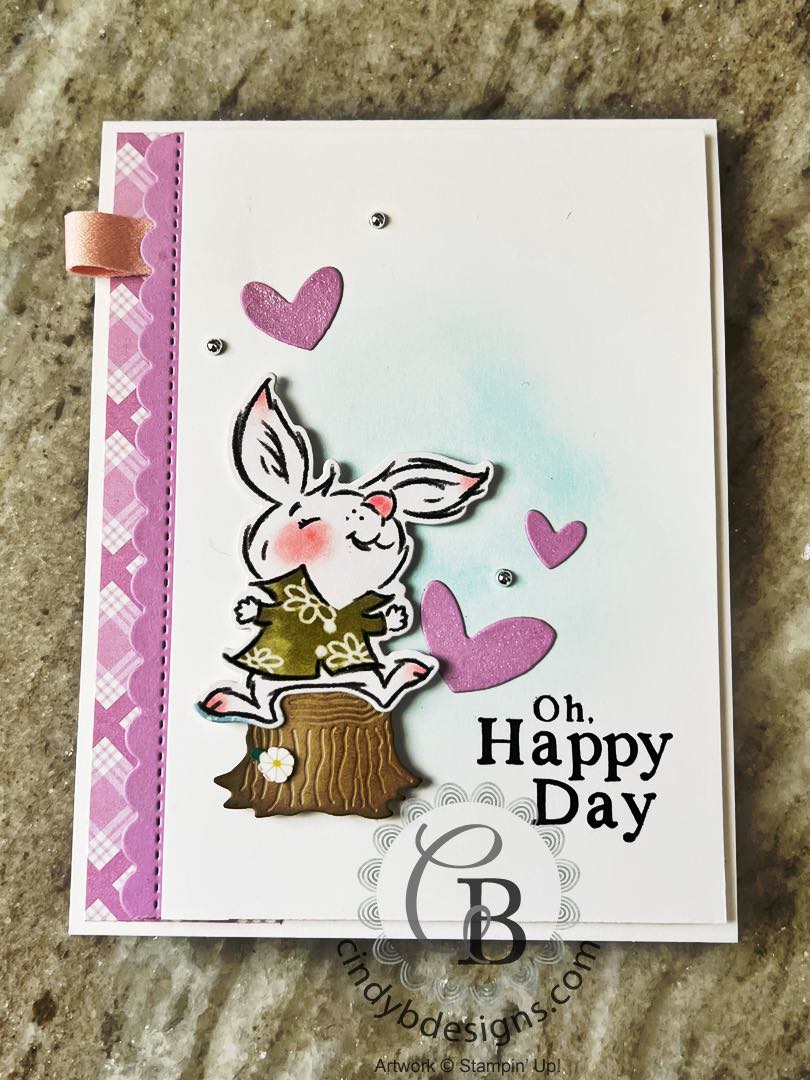
I cut the animals from Playing in the Rain Designer Series Paper from their coordinating dies.
Three tree stumps from Playing in the Rain Dies were cut from Crumb Cake CS. I used a Sponge Dauber to apply Soft Suede ink for extra definition. A dainty Loose Daisy Embellishment was adhered to the left of the tree stumps with a Mini Glue Dot.
The hearts were cut from Petal Pink, So Saffron, and Fresh Freesia with the Share a Milkshake Dies and a Clear Wink of Stella Glitter Pen was used to color the heart.
I length of Petal Pink Soft Polyester Ribbon was looped and adhered to the image panel behind the scallop line.
For final assembly, the image panels were adhered to the card bases with Stampin’ Dimensionals.
The tree stump and die-cut DSP animals were adhered with Stampin’ Dimensionals.
The hearts were adhered with liquid adhesive and three silver Festive Pearls were used to further embellish these adorable cards that would be great for a child’s birthday or accomplishment.
HOW TO MAKE CHIPBOARD PIECES FROM CARDSTOCK OR DESIGNER SERIES PAPER is incredibly easy and sturdy! Our designer series paper is thick enough on its own. I cut the dies from Basic White CS a few more times that were adhered to each other and then to the die-cut DSP with liquid adhesive. This can be done with all of our die-cuts with or without DSP.
I hope you enjoyed today’s projects and please let me know if you have any questions.
Thank you for stopping by for a visit and have a great day!


 Soft Polyester Ribbon")
 Designer Series Paper")


|
|
|
|
|
|
|
|
|
|
|
|
|
|
|
|
|
|
|
|
|
|
|
|
|
|
|
|
|


- Card base: A2 top-folding 4-1/4 x 5-1/2, Basic White Thick CS.
- DSP panel: 1-1/4 x 5-1/4.
- Image panel: 3-1/2 x 5-1/4, Basic White Regular CS.
Great cards. One of my favorite’s from the new catalog.
What are you putting in the inside of cards besides Happy Birthday?
These are adorable ! Love all three!
Usually more embellishments and additional customizing for the recipient.