Hello there! Thank you for joining me today for a project that can be used for so many occasions featuring the Share A Milkshake Bundle and for a new As You See It Challenge.
This could be a birthday, encouragement, Valentine’s Day, etc., card. I brought in a few retired staple products of glitter and binder clips. You will see a lot more of those type of products from me this year and I always encourage you to use household and retired staple products. I’m all about the cost-effective timeless classics.
The glitter is from 4-ish years ago and the Binder Clips are at least 13 years old … we’re talking the old blue label here. Keep products like this on board.
I used so many of our colors from Bubble Bath to Fresh Freesia … a total of 9 colors and yet this one flows + is also a great card for a beginner to create. There was easy cutting of the cardstock, a punch, and 2 die-cuts to create the base |ice cream bowl, ice cream scoops, and sentiment. I love how everything vibes together with the solids and prints.
This is such a great sketch with endless color and design opportunities. I could have easily embossed my 1/2″ paper strips and vellum but, chose not to do so with this one. I let the chunky glitter, binder clip, and colors do their thing.
As always, your shopping Supplies and Instructions, including measurements, are below.
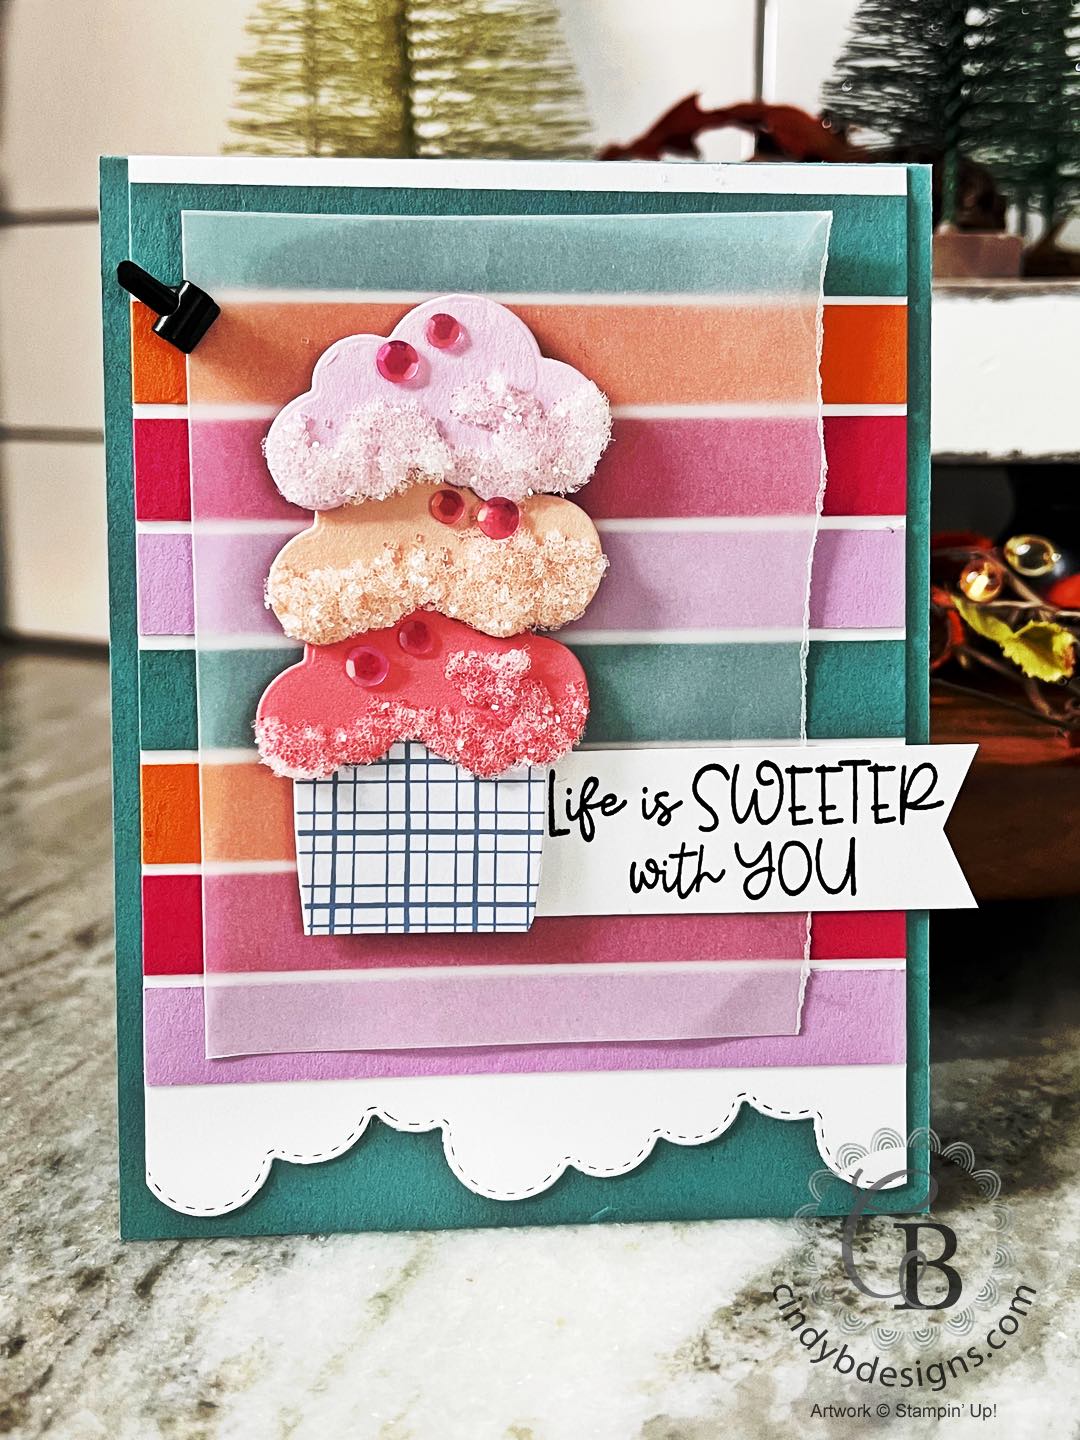
I started out with my Lost Lagoon CS base and then cut the Basic White regular CS to size and die-cut the end from Basic Borders Dies to create a card panel.
I cut 4″ x 1/2″ pieces of Melon Mambo, Pumpkin Pie, Lost Lagoon, and Fresh Freesia CS that I adhered to the Basic White Regular CS panel with liquid adhesive.
I cut the ‘bowl’ from a Boho Blue In Color Treat Bag using the large milkshake die-cut and trimmed it with my Paper Snips.
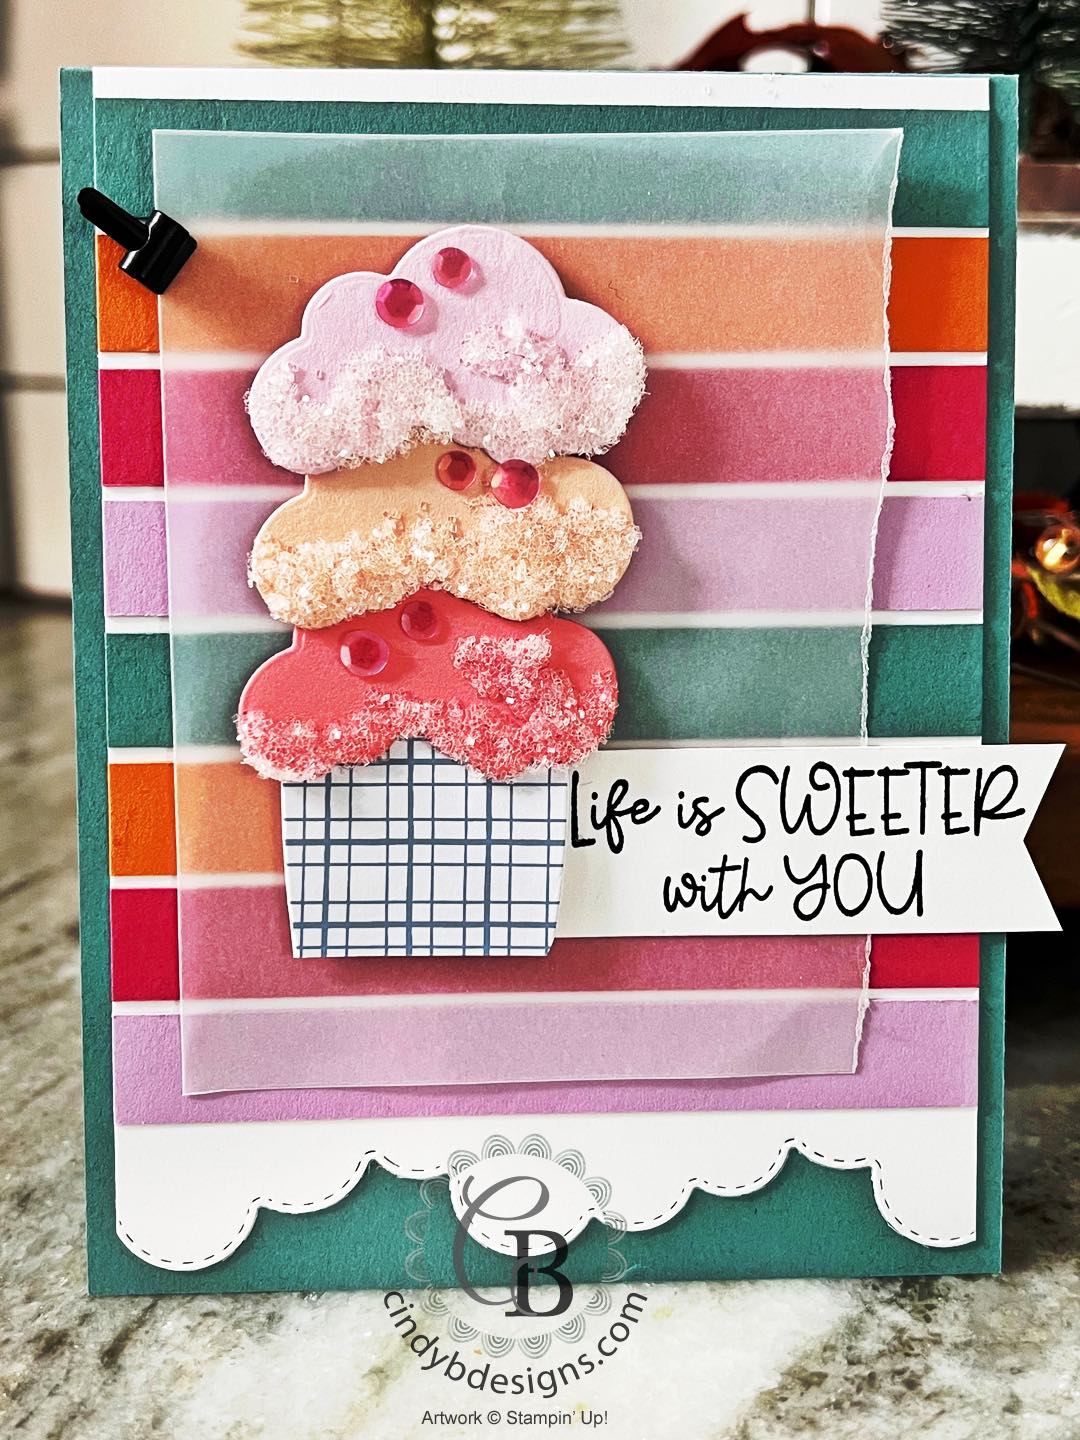
I then cut 3 large ice cream scoops from Flirty Flamingo, Petal Pink, and Bubble Bath. A Fine Tip Glue Pen was used to adhere the Ice Stampin’ Glitter and set aside to dry.
I stamped the sentiment onto Basic White Regular CS with Memento Tuxedo Black, cut to size, and then banner punched the right side.
I cut a piece of Vellum CS and tore the right side.
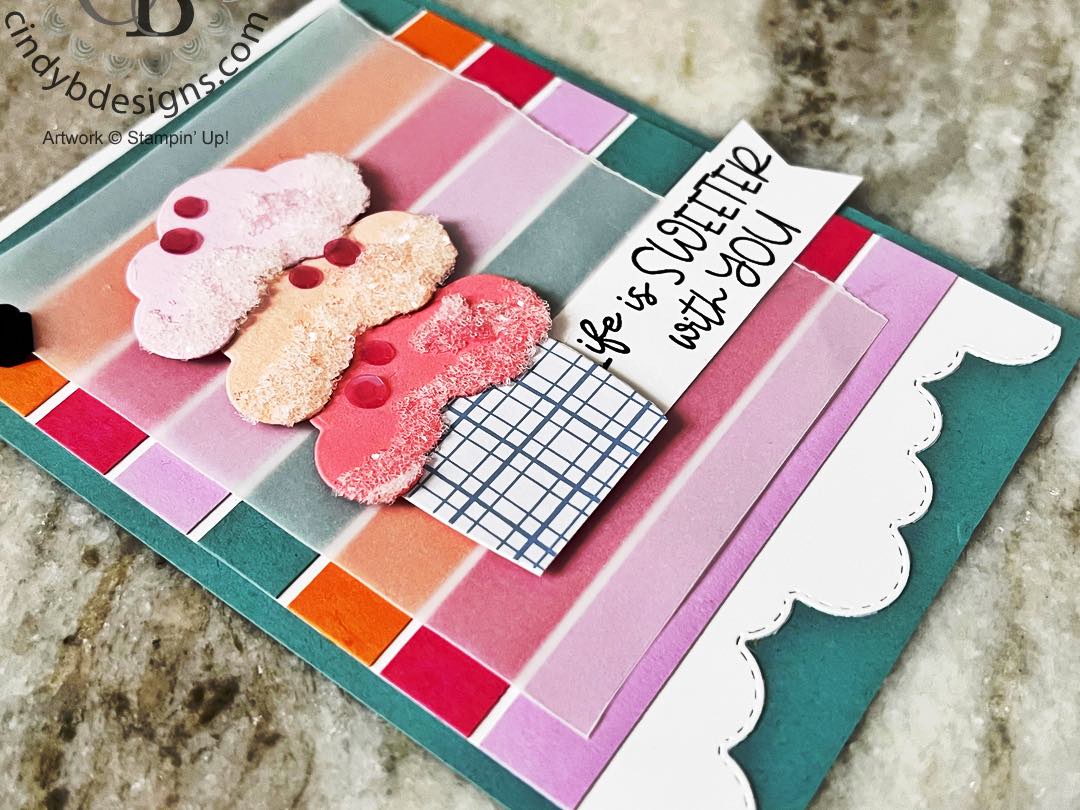
For final assembly, I adhered the all of the ice cream images with Stampin’ Dimensionals onto the Vellum CS. I adhered the Vellum panel to the card with liquid adhesive behind the ice cream images.
The sentiment was adhered with liquid adhesive and tucked under the ‘bowl’ part of the image.
I added a piece of Tear & Tape to the back of a Mini Library Clip and adhered this to the top left of the Vellum to help keep that secure.
Lastly, I adhered 2 Berry Burst Adhesive Backed Sequins Trio to each scoop to further embellish.
I hope you enjoyed today’s project and please let me know if you have any questions.
Thank you for stopping by for a visit and have a great day!


|
|
|
|
|
|
|
|
Mini Library Clips
[109857]
$12.95
|
|
|
|
|
|
|
|
|
|
|
")


|
|
|
|
|
|
|
|
|
|
|
|
|
|
|
|
|
|
|
|
|
|
|
|
|
|
|
|
|
|
|
|
|
|


- Card base: A2 top-folding 4-1/4 x 5-1/2, Lost Lagoon CS.
- Strip panel: 4 x 5-1/2, Basic White Regular CS, bottom cut with Basic Borders Dies.
- Image panel strips: 1/2″ from Fresh Freesia, Melon Mambo, Pumpkin Pie, Lost Lagoon CS.
- Vellum panel: 3-1/4 x 4-1/4, hand torn on the right side.
Such a lot of lovely details such as the curvy bottom, the lush icing on the cake and the tiny binder clip add up to a real beauty. I especially like that you have one torn edge on the vellum. Thanks for joining in with us at As You See It.
I love your card, Cindy, but how would you fill in the blank for our As You See It Challenge? I especially like the frosty look of the ice cream scoops! And I love your colour palette! For future reference, you will need to have a link back to our Challenge and a way you would fill in the blank for this type of challenge!
This is delightful! With all of your colors, using vellum in such a simple way is so effective! It gives you an extra layer but doesn’t hide anything! Love that idea! Thanks for joining us at As You See It!