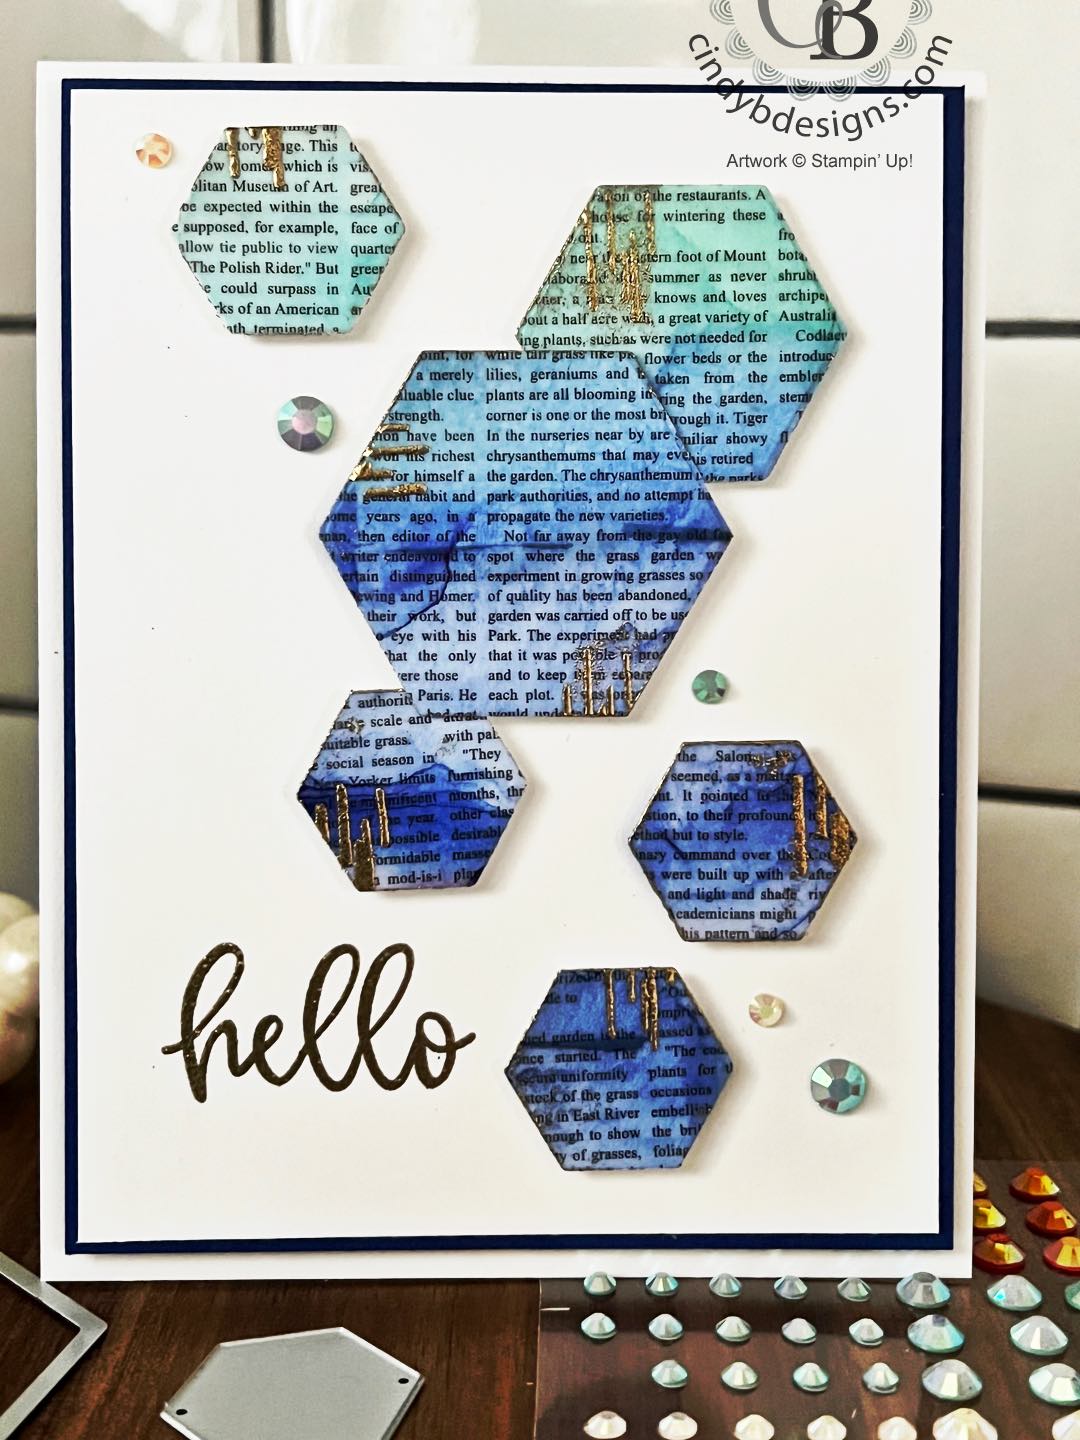
Hello there! Thank you for joining me today for a masculine card created with Biggest Wishes and Thanks a Bunch stamp sets from the Annual and Spring Mini Catalogs.
I brought in the Beautiful Shapes Dies for the hexagons, also from the Annual Catalog, and used my alcohol marker on vellum technique in various shades of blues with what I call ‘sloppy’ gold heat embossing to accentuate the hexagons to ombre transition the blues.
As always, your shopping Supplies and Instructions, including measurements, are below.

I started out with my A2 card base then cut the image panel mat and image panel, that were adhered to each other with Seal for the panels only.
I went about putting together my printed black vellum from Layering Vellum Designs with an Adhesive Sheet and Basic White CS. I cut this down to 3 x 6 to control the color more as I was spritzing on the alcohol and using my Heat Tool to dry and move the color around.
From top to bottom, I used the Dark Stampin’ Blend Marker of each color.
- Pool Party
- Balmy Blue
- Tahitian Tide
- Bermuda Bay
- Night of Navy
- Starry Sky
I positioned my hexagons from Beautiful Shapes Dies on the vellum and cut.
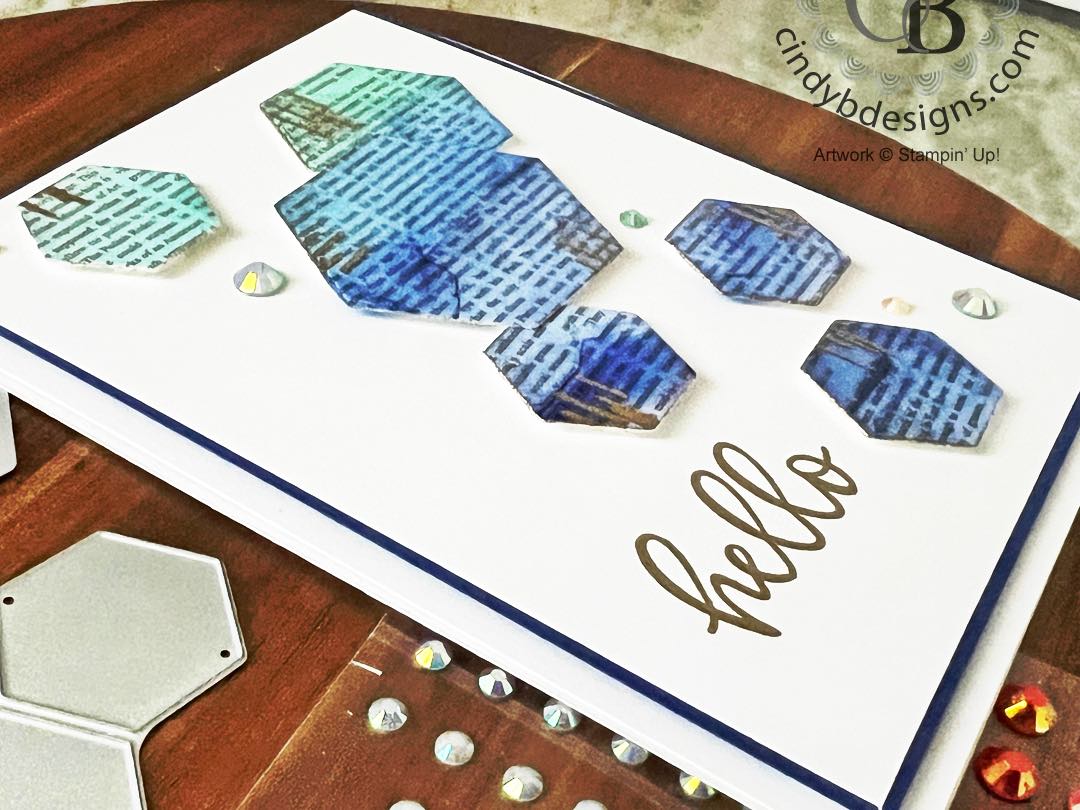
For the top right and large hexagon below that, I used the smallest and next size up hexagons. For the other 4, I used the small standalone die that has 2 hexagons, that is shown in today’s pictures.
I then used the little striped stamp from Thanks A Bunch with Versamark ink to stamp the image randomly on the hexagons that were heat set with gold powder. My lines are messy because I did not use the Embossing Buddy before I heat set the gold + this vellum is a bit slippery to stamp on. This is the look that I was after.
After applying the Embossing Buddy, I stamped the sentiment from Biggest Wishes in Versamark at the bottom left that was heat set with gold powder.
For final assembly, the hexagons were adhered with Stampin’ Dimensionals. Where the hexagons overlap in the center, a bit of Seal was used.
Stampin’ Dimensionals were adhered to the back of the image panel and mat then adhered to the card base.
This is super easy to make with endless color possibilities.
I hope you enjoyed today’s project and please let me know if you have any questions.
Thank you for stopping by for a visit and have a great day!


|
|
|||
|
|
|||
|
|
|||
|
|
|
|
|
|
|
|
")
")

 Layering Designs")


")

|
|
|
|
|
|
|
|
|
|
|
|
|
|
|
|
|
|
|
|
|
|
|
|
|
|
|
|
|


- Card base: A2 top-folding 4-1/4 x 5-1/2, Basic White Thick CS.
- Image mat: 4 x 5-1/4, Starry Sky CS.
- Image panel: 3-7/8 x 5-1/8, Basic White Regular CS.