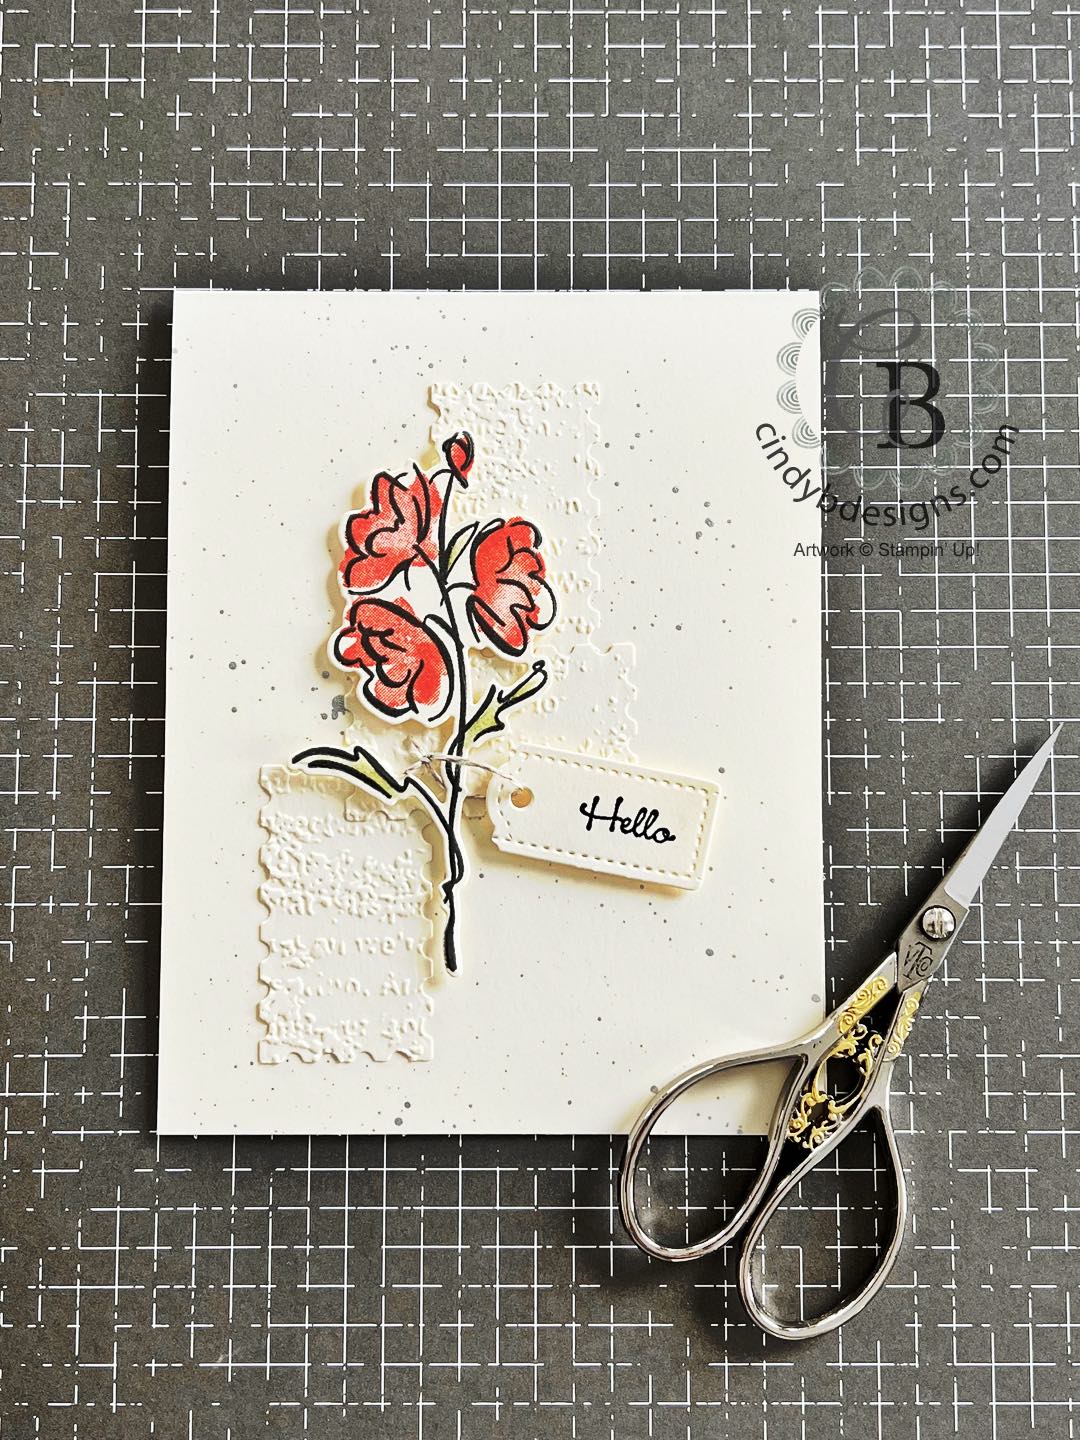
Hello there! Thank you for joining me today for another clean and simple stamping card featuring the Color & Contour + Go To Greetings stamp sets with Perennial Postage, Scalloped Contours, and Tailor Made Tag Dies, with a subtle Timeworn Type 3D Embossing Folder panels, and silver metallic splatter on the card base. My colors are Calypso Coral, Old Olive, and Basic Gray.
I’ve really been focusing on the Annual Catalog lately and adding in Spring with Sale-A-Bration products a lot this month.
I went with Very Vanilla this time around f0r a change. The Perennial Postage Dies cut and embossed with Timeworn Type from Basic White Regular CS would be a striking neutral mix combination.
The silver splatters with the embossed panels give this clean and simple card subtle movement that also complimentarily breaks up the Very Vanilla.
The Calypso Coral ink, Old Olive Watercolor Pencil blended out with a Blender Pen, and Basic Gray line art with the stitched sentiment tag and Linen Thread details keep this one classy.
As always, project specific supplies with basic supplies are below.
I started out with a Very Vanilla Thick CS A2 card base and splattered on Silver Enamel Effects mixed with Clear Wink of Stella in a Water Painter. I used our Heat Tool to dry the splatters real fast.
Next, I cut 3 Perennial Postage Dies from Very Vanilla Regular CS, dry embossed them through the Timeworn Type EF, and adhered them to the card base with liquid adhesive.
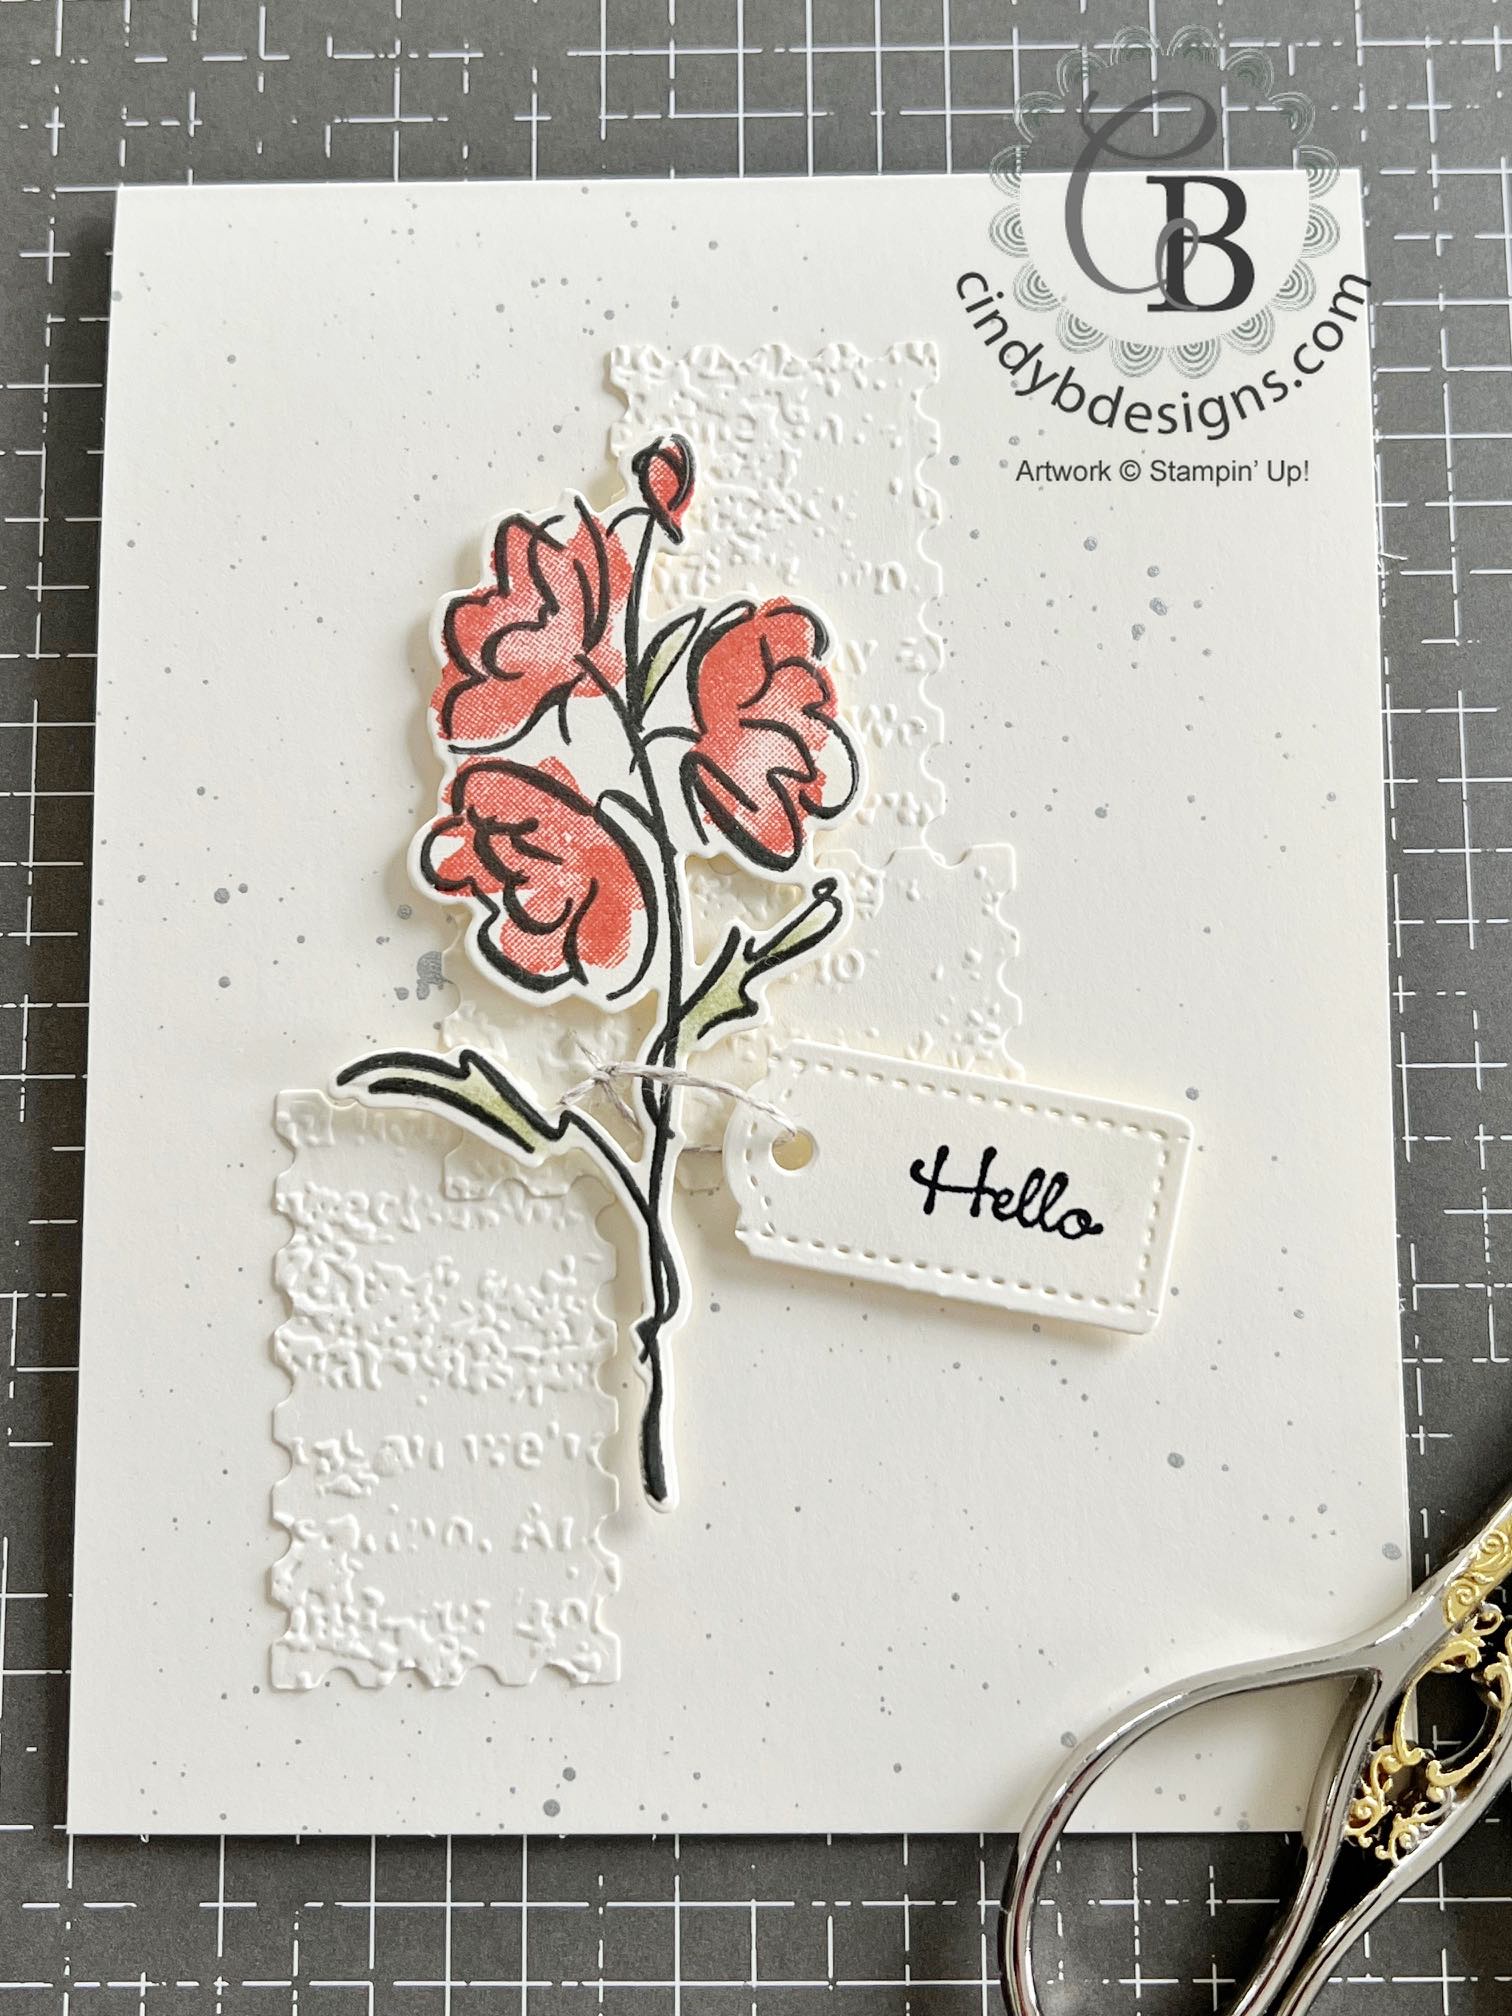
I stamped the floral image from Color & Contour onto a piece of Very Vanilla Regular CS with Smoky Slate ink, stamped the fl0wers in Calypso Coral, colored the leafs with an Old Olive Watercolor Pencil that I blended out with a Blender Pen, then re-stamped the line art again with Basic Gray ink, that was cut from its coordinating Scalloped Contours Die.
I stamped the sentiment from Go To Greetings onto a piece of Very Vanilla Regular CS in Memento Tuxedo Black ink. I used one of the Tailor Made Tag Dies to partially die-cut the sentiment.
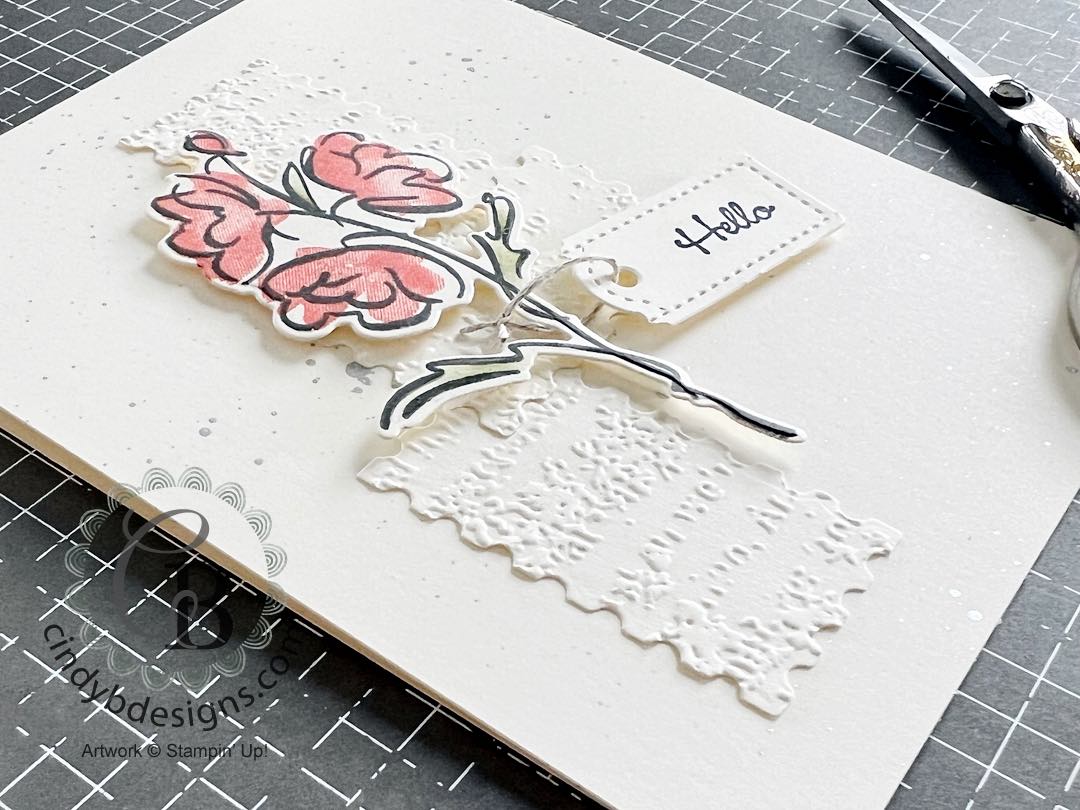
For final assembly, the flower image was adhered to the card base with Stampin’ Dimensionals.
I ran a length of Linen Thread through the sentiment tag and knotted this around the stem of the flower image. I carefully adhered the sentiment tag to the card with another Stampin’ Dimensional.
I hope you enjoyed today’s project and please let me know if you have any questions.
Thank you for stopping by for a visit and have a great day!


|
|
|
||
|
|
|
|
|
|
|
|||
|
|
|

")


|
|
|
||
|
|
|
|
|
|
|
|
|
|
|
|
|
|
|
|
|
|
|
|
|
|
|
|
|
|
|
|
|
|
|
|
|
|
|
|
|
|
|
|


")


