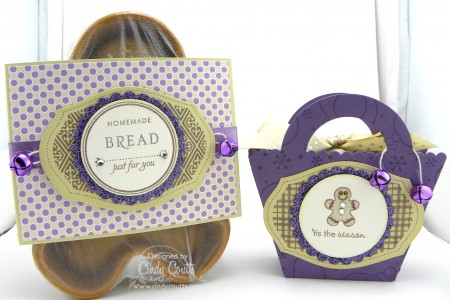
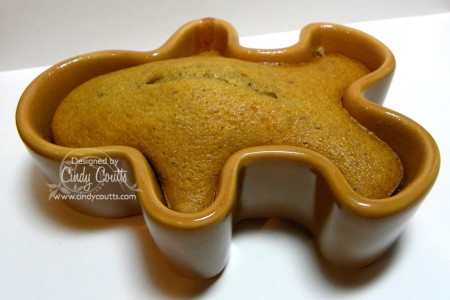
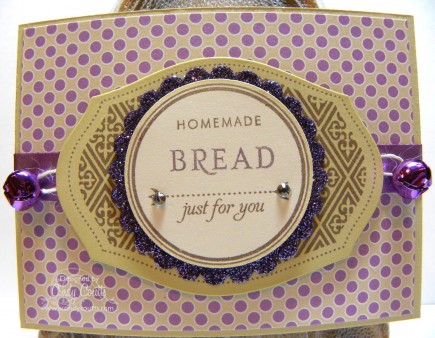
Good morning. Today is Day 4 of the 12 Days of Christmas at Christian Paper Crafts and I have some serious eye candy for you! Today we're showcasing baking and how to use paper as ways to give as gifts. I went to a theme of a gingerbread man making a basket of cookies and baked bread in a ceramic gingerbread man shaped loaf. I've been making a lot of my Christmas projects using purple and I bumped it up a few with glitter, bling, and bells!
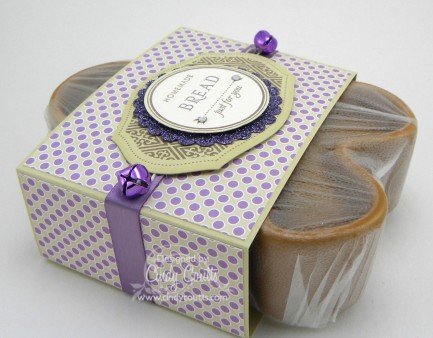
I will share with you a short tutorial on how I made my basket and pictures, and then the wrapping on my loaf of bread. First, I will show you the set together. Is this darling or what?!
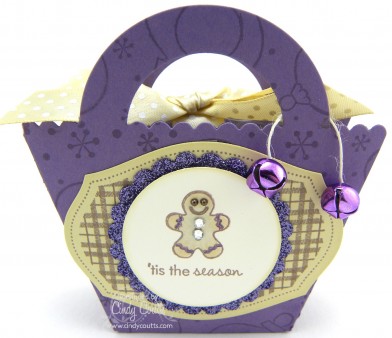
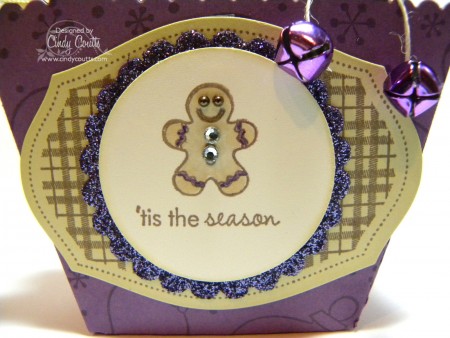
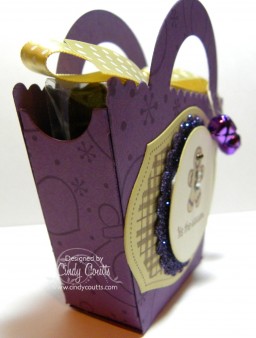
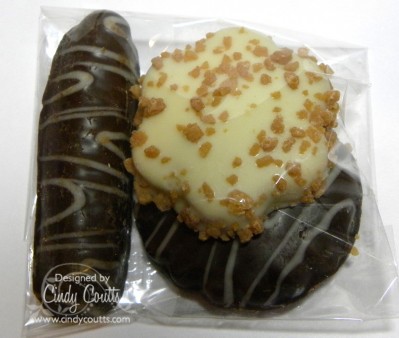
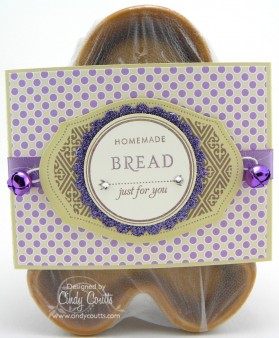
The majority of product that I used is from Papertrey Ink. I take advantage of die-cuts whenever possible and these projects were no different. My basket was cut from the Favor It Box 2. Before assembly, I ran the Sparkle and Shine Jumbo Wheel by Stampin' Up! with Perfect Plum ink over my die-cut. I die-cut a piece of Fine Linen card stock using Mat Stack 1 and stamped the coordinating label in Memento Rich Cocoa, then I ink distressed the edges with Chamomile. I then die-cut a scallop circle from Limitless Layers in Plum Pudding card stock. I covered the scallop circle with Versamark and sprinkled Stampin' Up! heat and stick powder over the scallop, shaking off the excess, used the heat gun on it, and then sprinkled purple glitter onto the card stock, again shaking of the excess, and set it with the heat gun. I adhered the scallop circle to the Mat Stack with sticky strip. I then stamped my image and sentiment from Tiny Treats: Christmas, onto Vintage Cream card stock with Memento Rich Cocoa and colored in the image with Copic markers. I punched out the image and sentiment with a 1-3/4" punch, ink distressed the edges, and added faux brown pearls for the eyes of the gingerbread man and Stampin' Up! Basic Rhinestones in the middle. I colored the zig zag in the image using a Copic Spica marker in purple. I adhered the image panel to the scallop glitter circle and Mat Stack with foam dots to give it dimension. I wrapped Fine Linen polka dot ribbon around my cookies that were wrapped in a cellophane bag and put them in the basket. For a little accent, I cut a piece of Rustic Cream Twine, added two bells, tied triple knots at the end, and then draped it over the basket handle. Here are some additional pictures of the basket. With both projects, it is obvious which ones I took in the light box because the quality is so much better, but it was difficult fitting both in, as you can see above as the light box seams are showing.


Thank you so much for stopping by my blog today. Please become my friend through Google Friend Connect, sign up for my Newsletter, and subscribe for Blog Updates. I am always blessed by your support and comments!

