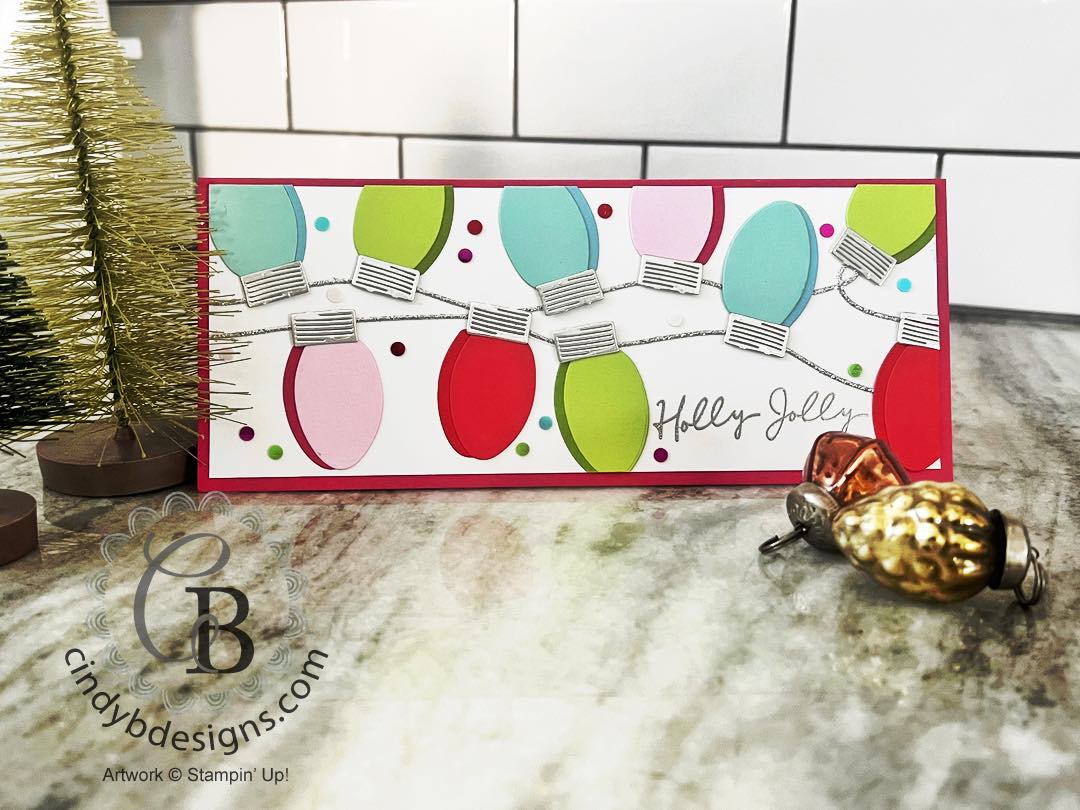
Hello there! Thank you for joining me today for a slimline card created from the Bold Merry & Bright Suite Collection. Obviously, I took my colors from the suite collection to make this bold and bright Christmas cards. There was a lot of die-cutting going on with this project and fortunately, the die-cuts conveniently have 2 of the bulb shapes.
I brought in Silver Foil Sheets and the Online Exclusive item of Silver & Gold Adhesive-Backed Glimmer Paper.
The Iridescent Adhesive-Backed Discs added a fun background embellishment with the silver heat embossed sentiment.
As always, project specific supplies with basic supplies are below.
To create my slimline card base, I cut a piece of Melon Mambo CS to do 8-1/2 x 7 and scored on the 7″ side at 3-1/2″.
I then cut 2 pieces measuring 8-1/4 x 3-1/4 from Basic White Regular CS for the image and inside panels.
After applying my Embossing Buddy across the image panel, I stamped my sentiment from Merry & Bright with Versamark Ink onto the Basic White Regular CS and heat embossed with silver powder at the lower right corner.


I then went about all of the die-cutting, adhering the Christmas bulbs together, and snipping the hook off the ornament caps.
- Bulb line: Cut from Silver & Gold Adhesive-Backed Glimmer Paper.
- Ornament caps: I adhered an Adhesive Sheet to the back of a Silver Foil Sheet and cut.
- Bulbs: Cut from Bubble Bath, Melon Mambo, Sweet Sorbet, Poppy Parade, Parakeet Party, Granny Apple Green, Pool Party, and Balmy Blue.
I overlapped my bulbs with another color of coordinating CS as a shadow accent that were put together with liquid adhesive.
- Bubble Bath atop of Melon Mambo.
- Sweet Sorbet atop of Poppy Parade.
- Parakeet Party atop of Granny Apple Green.
- Pool Party atop of Balmy Blue.
I then snipped off the hooks from the ornament caps and adhered them to the tops of the bulbs.
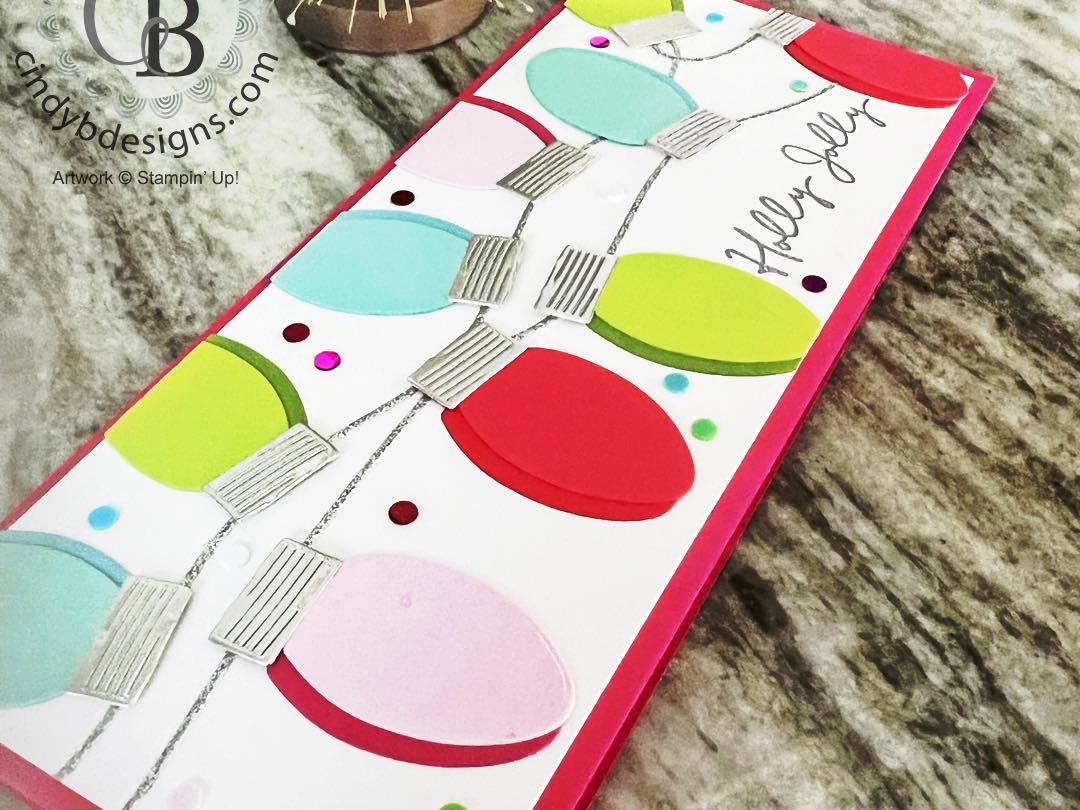
For final assembly, the bulb lines were adhered to the image panel with the bulbs being scattered about and adhered with liquid adhesive. I trimmed the overlapped edge bulbs with my Paper Snips.
To embellish, the discs from the suite collection were used.
The image panel was adhered to the card base with Tear & Tape.
I hope you enjoyed today’s project and please let me know if you have any questions.
Thank you for stopping by for a visit and have a great day!


|
|
|
||
|
|
|||
|
|
|
|
")


 Adhesive Backed Glimmer Paper")


|
|
|
||
|
|
|
|
|
|
|
|
|
|
|
|
|
|
|
|
|
|
|
|
|
|
|
|
|
|
|
|
|
|
|
|
|
|
|
|
|
|
|
|


")


