Hi again. I am so into my Cricut lately that it's not even funny and have dozens of projects that I'd like to share with you. Blogging about them all is another story. Even though I did not use my Cricut on this card, it's just one of the many things that you can do with Cricut cartridges. With Christmas and Thanksgiving coming up, Look out! When you use your Cricut, 9/10 you need a good stamp sentiment and that's what My Creative Time does is provide those stamps and die-cuts for using your Cricut or just to use on cards or scrapbook pages because you like the stamp sets. I've been a huge fan of Emma's for a very long time and she's one of the first websites that I go to when I need something to learn on my Cricut. I think this would be a very fun design opportunity for me and definitely get me out of my box.
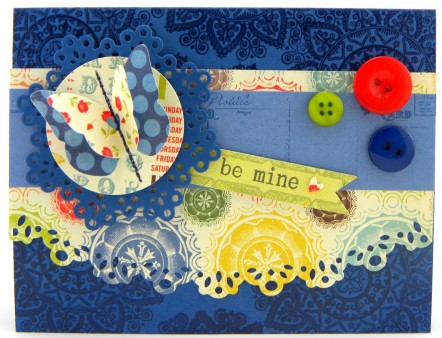
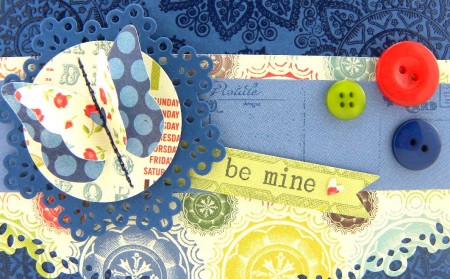
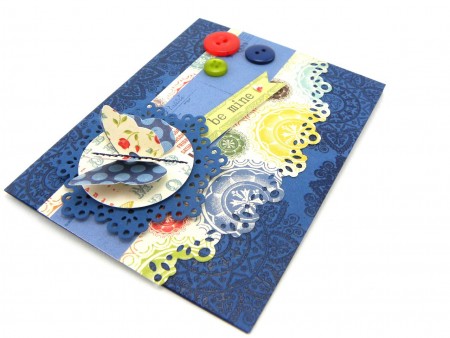
Here is my card that I'd like to share with you. Thank you for stopping by again today and may God bless you.


Stamps: Papertrey Ink Daily Designs Sentiments, Mehndi Medallion
Card Stock: Papertrey Ink Enchanted Evening
Designer Paper: Cosmo Cricket Odds & Ends, My Mind's Eye Lime Twist Happy Go Lucky, Papertrey Ink Postmarks
Ink Pads: Memento Tuxedo Black, Versamark
Other Accessories/Embellishments: Stampin' Up! Embossing Buddy
Buttons: Basic Gray (blue button), Stampin' Up! Brights Designer Collection (Real Red), Green button (craft supply)
Thread/Floss: Coats & Clark (blue thread)
Die-cuts: Papertrey Ink Butterfly, Doily Details Collection C, Double-Ended Banners, Edgers #2 Collection, Limitless Layers 1-3/4” Circle Collection, Love Lives Here
Heat Embossing: Filigree Fine Art Powder (Clear)
Machine(s)/Tool(s): ProvoCraft Cuttlebug, Stampin’ Up! Heat Tool
Technique: Die-cutting, dry embossing, heat embossing, machine stitching
Size: 5-1/2 x 4-1/4

1. Cut a piece of dark blue card stock to A2 size.
2. Apply Versamark Ink to a large medallion stamp and stamp onto the dark blue card stock.
3. Sprinkle clear embossing powder over the card, shake off excess, and then heat emboss.
4. Cut a piece of designer paper to 5-1/2 x 3 and die-cut a decorative edge at the bottom.
5. Cut a pieced of designer paper to 5-1/2 x 1-1/4 and adhere towards the top of the designer paper in Step 4. Adhere both pieces to the dark blue card stock.
6. Die-cut a doily shape with dark blue card stock.
7. Die-cut a 1-3/4” circle with designer paper.
8. Die-cut a large butterfly with designer paper.
9. Die-cut a small butterfly with designer paper. Save the heart from the inside of the die-cut.
10. Lightly adhere the small butterfly to the large butterfly; adhere both to the 1-3/4” circle die-cut.
11. Machine stitch with blue thread through the center of the butterflies.
Related


Cute! I like the primary colors, and the lacy edges are really nice! Good luck 🙂
Very cute card! very colorful! good luck on the DT call
Micia
Cute card….I love doing that with butterflies. BTW…love your header at the top of your blog….nice design. Good luck 🙂
Cassandra
Beautiful card! Good luck!!
Cute. I love that butterfly and the colors are so fun and bright. Great job. Good luck! Hugs- Glora
This is darling! I love the stitching on the butterfly. Gorgeous!