Hello there! Thank you for joining me today for a project created with the Painted Christmas and Words of Cheer Bundles + a few other favorites, stamping on Crumb Cake CS, and a partial die-cutting technique. I could have sworn I did a video on this not too terribly long ago, but I came up empty on a You Tube search.
As always, your Supplies and Instructions are below, and, again, I forgot an item, which is the Pick a Punch: Banners that I used for the sentiment strip.
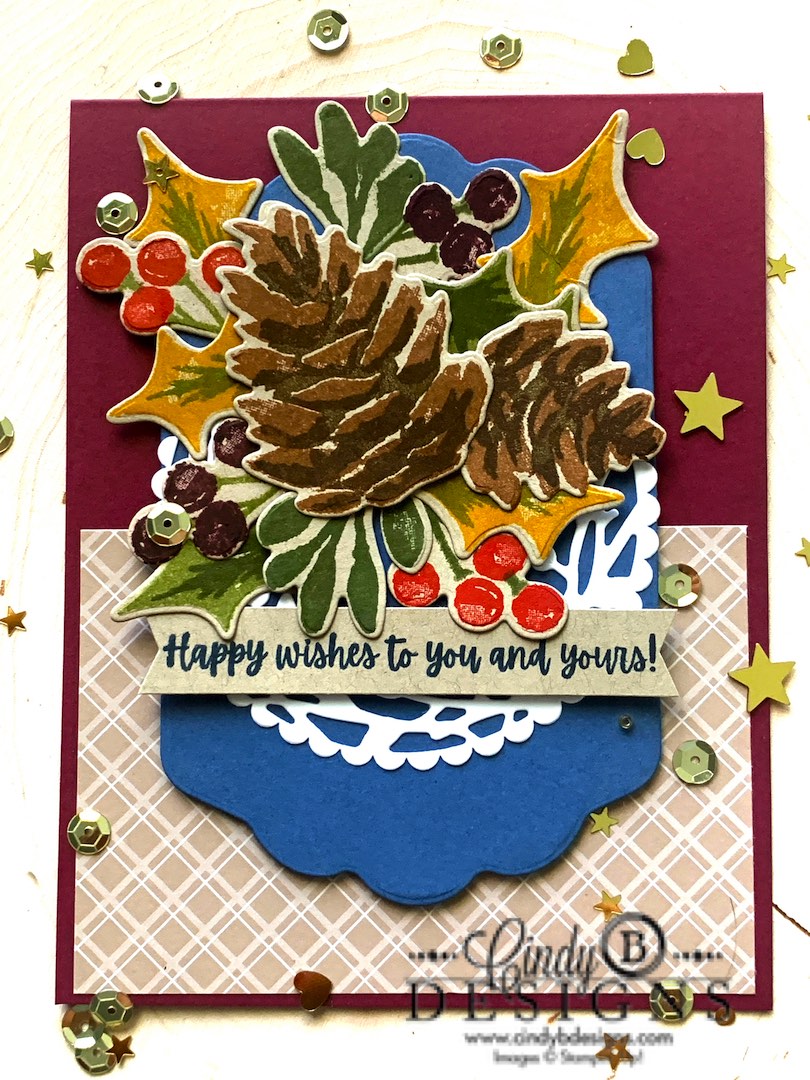
I started out with a Merry Merlot A2 card base and layered on a piece of Crumb Cake 6 x 6 square/diamond pattern designer series paper with liquid adhesive.
I then started to do partial die-cut technique for the Misty Moonlight panel from the Seasonal Labels Dies, which is part of the tremendously large Painted Christmas Suite Collection, which is focus of this project. I do believe that this is the video I did on partial die-cutting and/or altering your dies.
This technique is very easy to do. Position your die on the CS and only partially cut the CS. Once I had my partial cut, I moved the die-cut down to the other end of the CS and inserted the side into the Stampin’ Cut & Emboss Machine that needed to be cut. You can either wing it where to stop cutting and hope for the best, mark your CS, or keep your cutting pad off the part that you don’t want to cut.
For the Basic White CS on top of the Misty Moonlight doily, I first cut the largest scallop circle from Layering Circles Dies and then placed the large circle die from Birds & More Dies in the center, and ran it through our die-cutting machine.
The Misty Moonlight panel was adhered with Stampin’ Dimensionals and the doily with Multipurpose Liquid Adhesive.
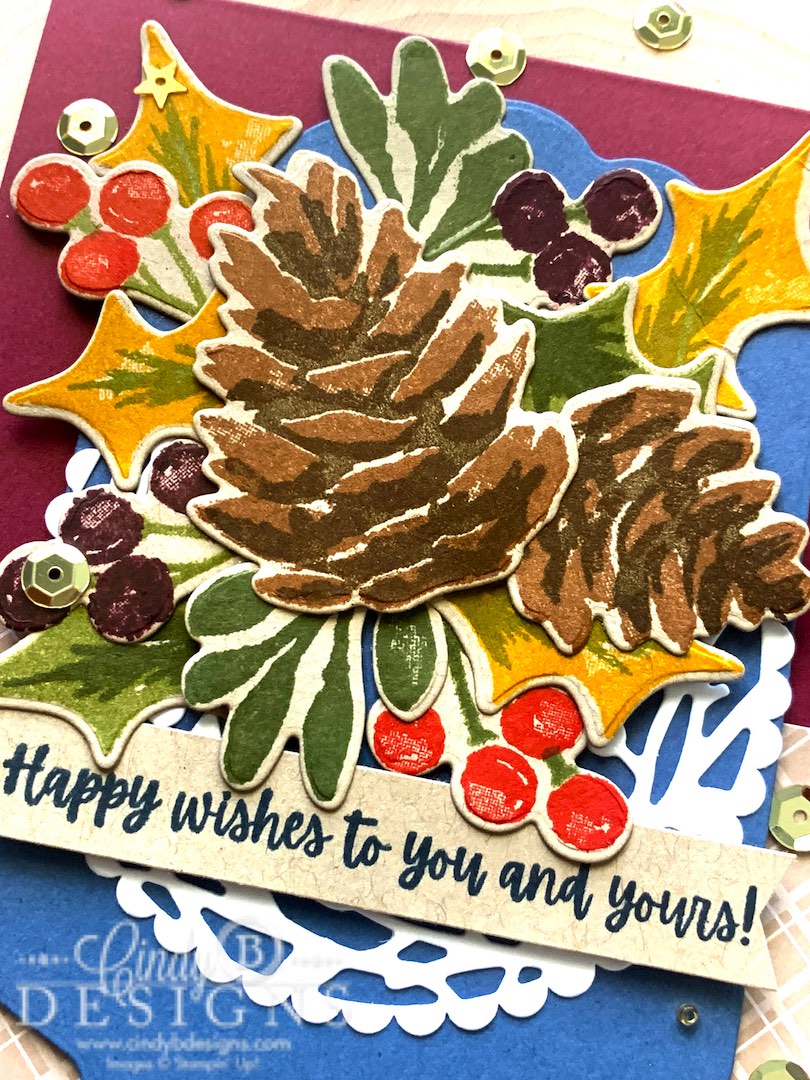
I then went on to stamp out the images onto Crumb Cake CS with a wide variety of inks to embellish these 2-step stamps that allow for the great detail. The leaves were stamped in Daffodil Delight and Old Olive with Old Olive and Mossy Meadow. The pinecones are Cinnamon Cider and Soft Suede. Cinnamon Cider reminds me a lot of the old Creamy Caramel, which I really did like. The larger accessory leaves were stamped in Mossy Meadow. The holly berries were stamped with Old Olive for the stems and Poppy Parade with Rich Razzleberry.
All of the images were cut with their coordinating die and arranged as shown. I pretty much winged this arrangement with some of the images tucked in the liquid adhesive, others with a combination of liquid adhesive and Mini Stampin’ Dimensionals.
The sentiment was stamped in Misty Moonlight ink, banner punched at the ends, and adhered to the image panel with Mini Stampin’ Dimensionals.
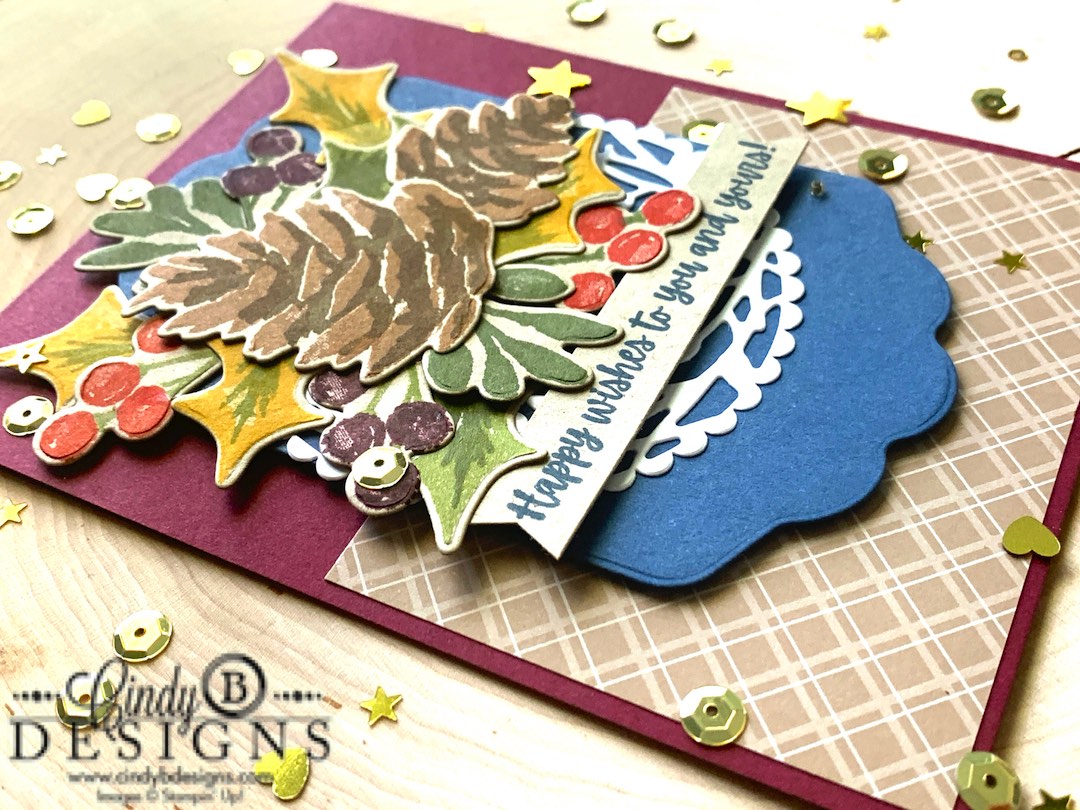
I thought this card had enough going on with the array of colors without additional embellishment.
If you have any questions, shoot me off an email.
I hope you enjoyed today’s project. Thank you for stopping by for a visit and have a great weekend!


|
|
| |
|
| ||
|
|
| |
|
| ||
|
")


 Designer Series Paper")


- Card base: A2 top-folding 4-1/4 x 5-1/2, Merry Merlot.
- DSP panel: 4 x 2-3/4, diamond/square pattern, Neutrals 6 x 6 DSP.
- Image panel: 3 x 4-5/8, Misty Moonlight.
- Image panel frame: Large circle die from Birds & More, Basic White Regular.
- Sentiment panel: 3-1/4 x 1/2″.