Hello there! Thank you for joining me today for Stampin’ Up! Only Challenge #309, where we are die-cutting today and hope that you join us.
I decided to take the Lights Aglow Suite Collection out of the box all the way around by heat embossing the snowflakes in white and the sentiment in silver using my Blending Brushes to apply color over the snowflakes.
The challenge is die-cutting and I die-cut one snowflake from the Chic Dies out of a Silver Foil Sheet.
As always, your shopping Supplies, accidentally omitting Versamark Pad and White Stampin’ Emboss Powder, with Instructions, including measurements, are below.
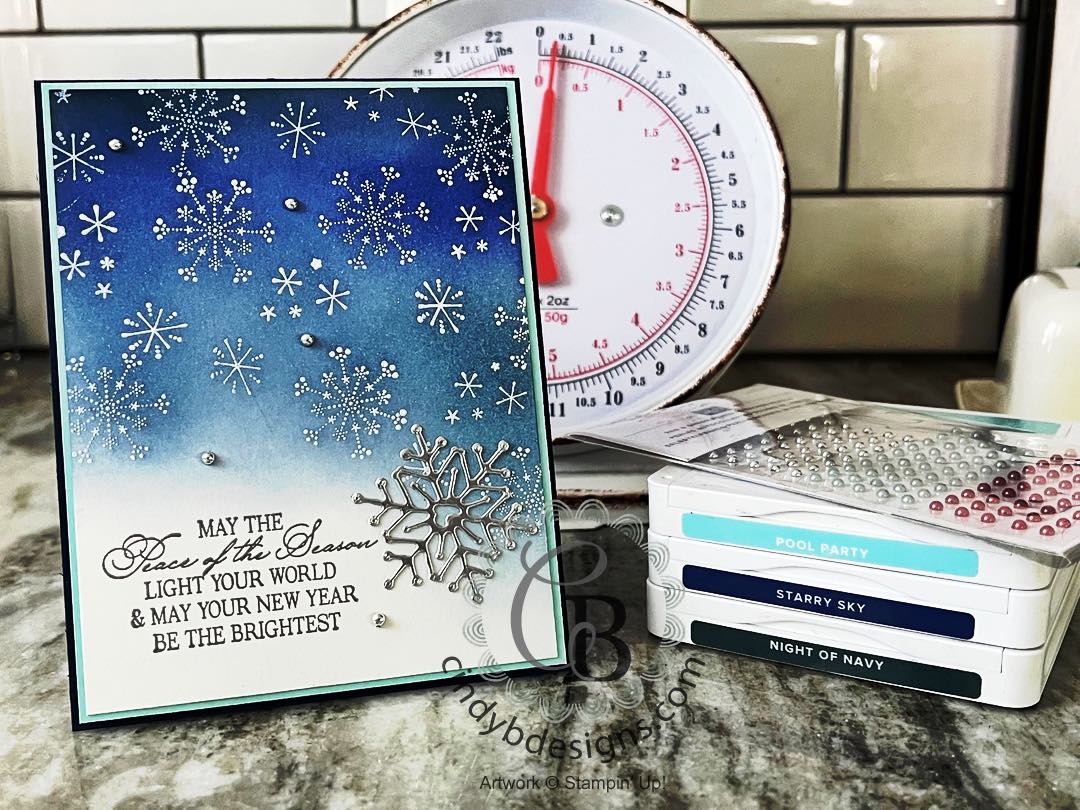
I started out with a Night of Navy card base and cut my Pool Party and Shimmery White CS down to size.
I treated the Shimmery White CS with our embossing buddy before I stamped on the snowflake images from the Christmas Lights stamp set, included in the Lights Aglow Suite Collection.
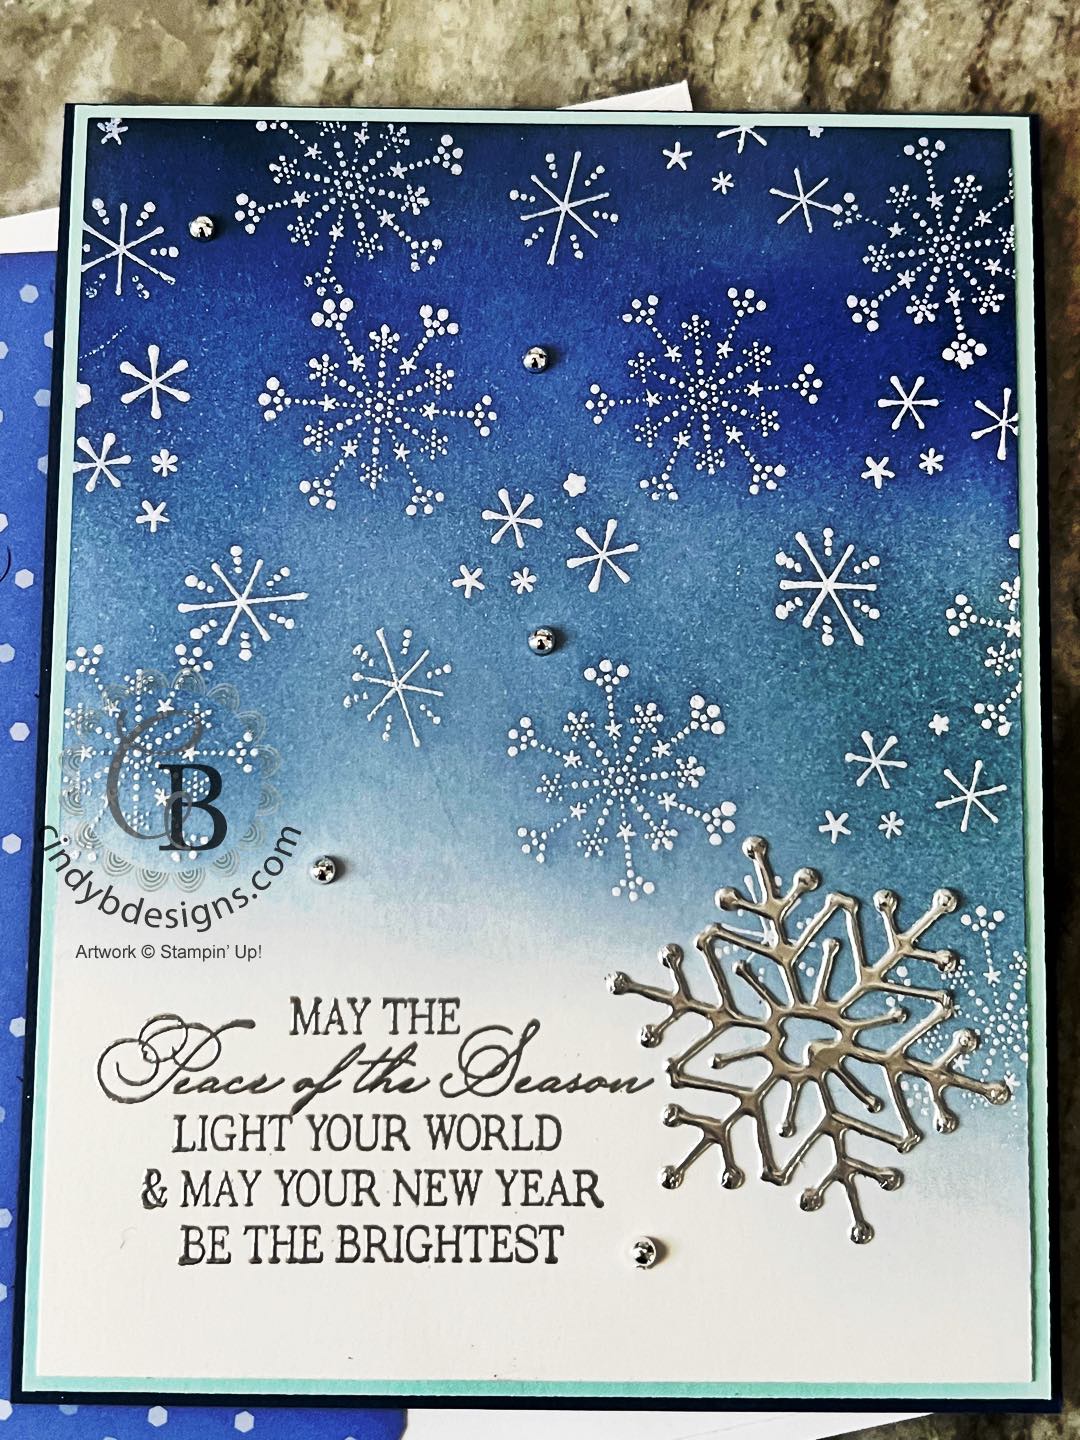
I lined up the 3 snowflake images on our C Block, inked them up in Versamark, then stamped the snowflakes on the Shimmery White CS at an angle several times. I covered the image panel in our white embossing powder and heat set the flakes.
The sentiment from the Brightest Glow stamp set was stamped at the bottom left with Versamark and silver heat embossed.
I used a Swiffer Cloth to wipe away the embossing buddy powder residue. This is a very important step as you need your CS to be as clean as possible to ink blend.
Starting at the top of the image panel, I loaded up my Blending Brush with Night of Navy ink and applied the ink. I came in with Starry Sky ink next, blending this with the Night of Navy ink; then Pool Party ink in an ombre fashion for a seamless and easy blend.
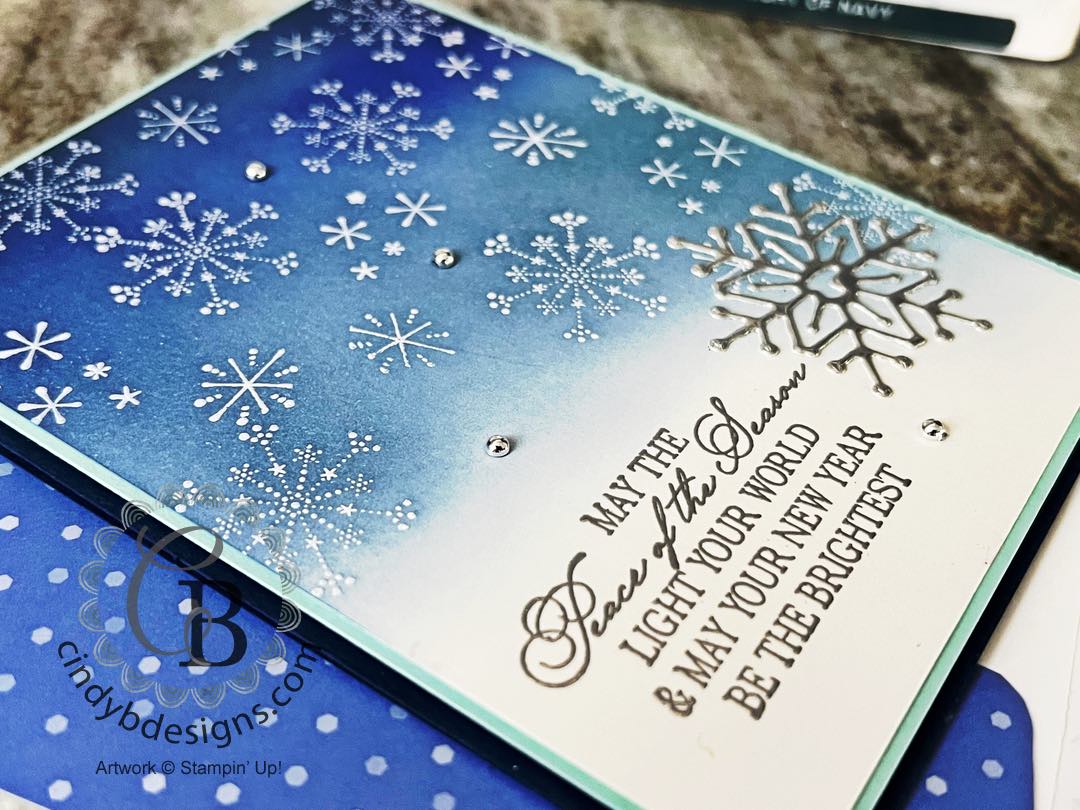
I let the ink dry and came back in with my Swiffer Cloth to wipe ink residue off of the white heat embossed snowflakes, which really brightened them up.
Next, I die-cut the largest open snowflake die-cut from Chic Dies from a Silver Foil Sheet.
For final assembly, I adhered the die-cut snowflake to the image panel with liquid adhesive. I scattered about 5 silver Red & Green Adhesive-Backed Pearls on the image panel.
The image panel was adhered to the Pool Party mat with Seal. The image panel was adhered to the card base with Stampin’ Dimensionals.
There is still plenty of texture and dimension to the project with the heat embossing, ink blending, and embellishments.
I hope you enjoyed today’s project and please let me know if you have any questions.
Thank you for stopping by for a visit and have a great day!


|
|
|
|
|
|
|
|||
|
|
|
|
|
|
|
|
|
|
|
|
|
|
|
|
|
|
|
|
|
|
|
|
|
|
|
|
|
")


")


- Card base: A2 top-folding 4-1/4 x 5-1/2, Night of Navy CS.
- Image mat: 4-1/2 x 5-3/8, Pool Party CS.
- Image panel: 4 x 5-1/4, Shimmery White CS.
BEAUTIFUL, Cindy, love those elegant snowflakes! That blue background is absolutely gorgeous to set them off!